(Fairmont/Zephyr dashes are similar)
As I was stripping the old paint from the dash pad of my Capri in order to refinish it I carelessly dropped a scraper on the speaker hole area creating a nasty looking LARGER hole…(Note, this was mid paint removal so the surface looks horrible – don’t mind that)
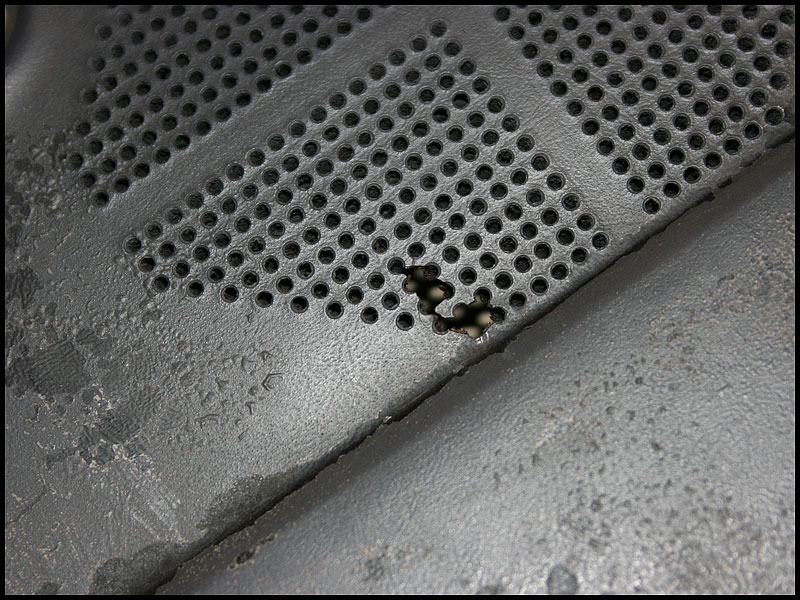
The bubbling here is from a heat gun…it worked awesome to get the old stuff off…it bubbled nicely then I just scraped it off…
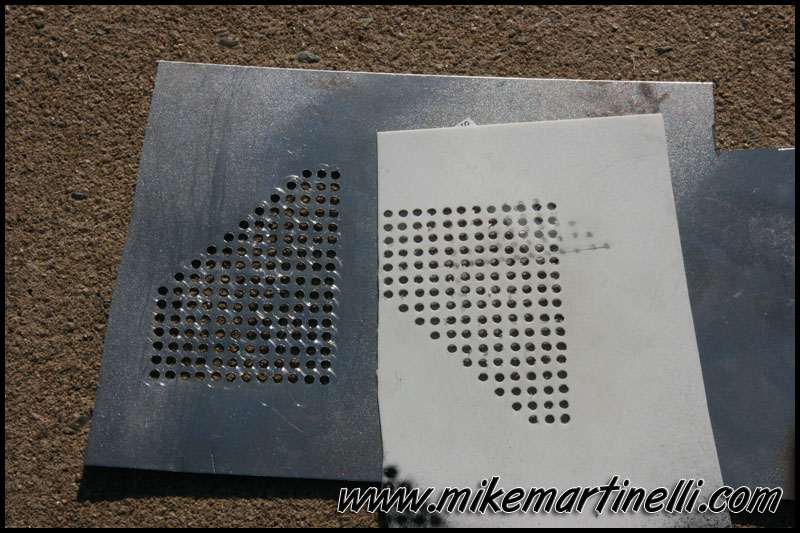
I wasn’t sure how I was going to fix this…Should I just repair that section or cut out the entire area and go from there? I had to decide. In the meantime, for if I cut out and repaired the whole section, I re-created the speaker “holes” on the computer to cut out of vinyl as template. I then made one out of metal and a few “tests” out of plastic which I used to replicate damaged area. (not shown) AND yes I center punched and drilled all 147 holes lol)
After this template making the road to the actual fix was on. I tried fiberglass, Mighty Putty and some epoxy gel stuff. The winner ended up being, believe it or not, the Mighty Putty…lol. The epoxy gel stuff was strong but a bit too pliable for drilling. The fiberglass was awesome but the test area got messed up when I tried to sand it. The test plastic didn’t really sand well (my fault) so I decided I’d need to re-test that method. In the meantime, the Mighty Putty test had cured so I started working with it and ended up really liking the way it turned out so I rolled with it.
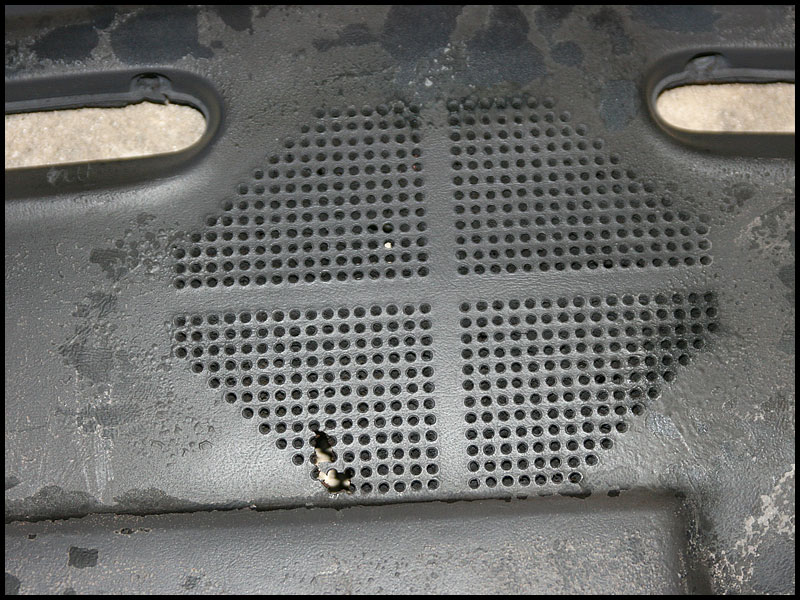
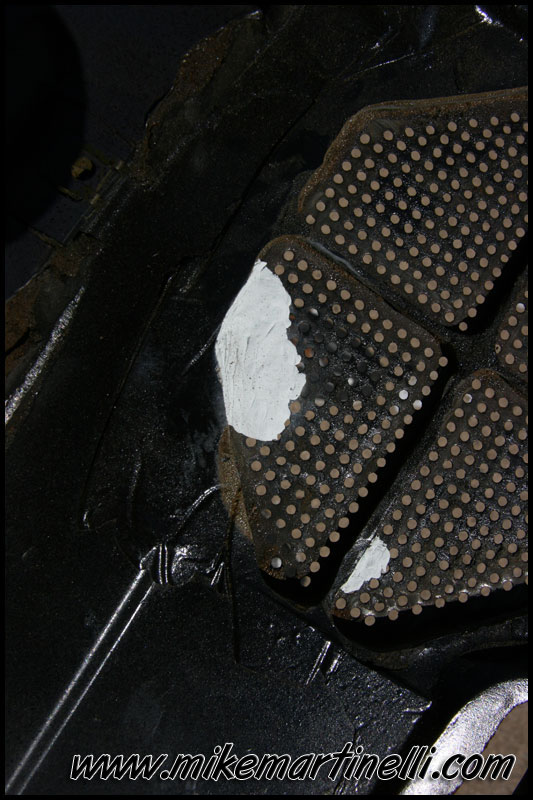
Below is the repaired area from the bottom of the dash…you’ll see 2 areas – the smaller area got damaged in this whole process too…lol. I had a backer piece of plastic on the top side so the putty didn’t just fall through. I cut this backer piece to size and taped it in to place. I also put down a piece of wax paper first so the Mighty Putty didn’t stick. Since the dash is brittle to begin with (hey it’s 22+ years old) I also had to carefully support the backer plate with my hand as I kneaded the putty in to place. Once I was happy with everything I let it sit to cure – I think the instructions say 1.5 hours. Once cured, I pulled everything off and the putty protruded just enough to take a few seconds to sand smooth…there was no seam either I was stoked.
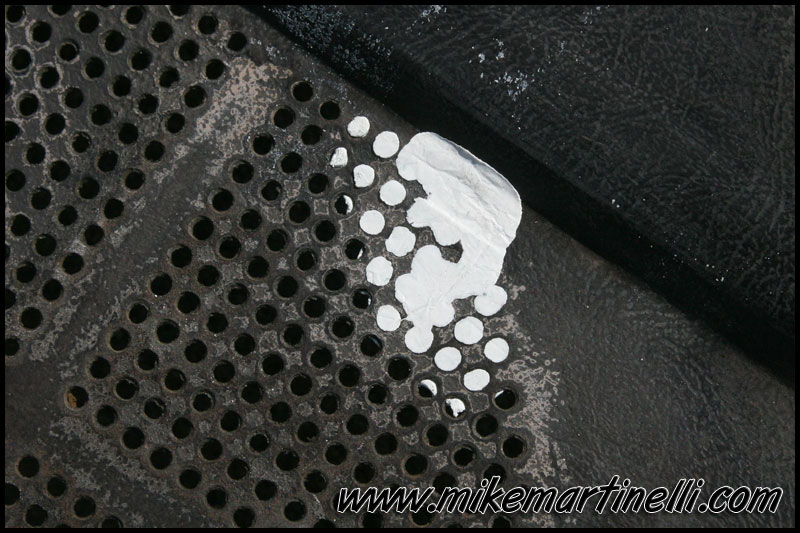
From the top, this is the repaired area before sanding.
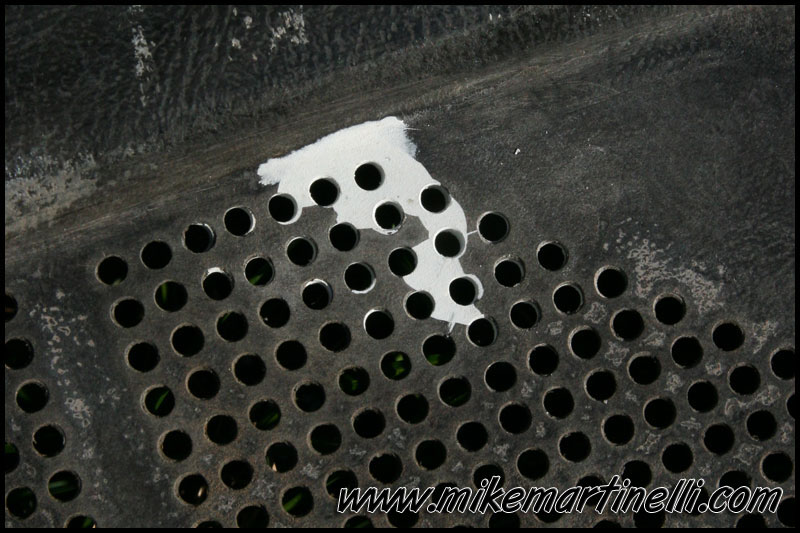
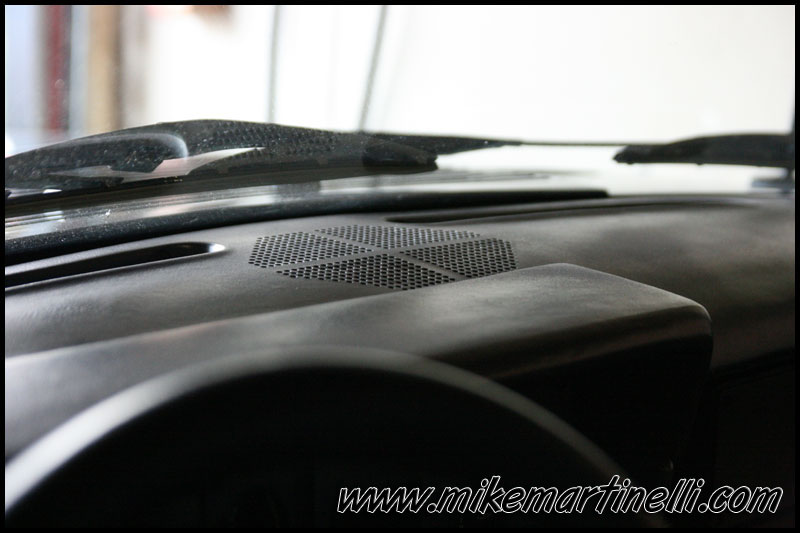
This is the repaired area after sanding AND drilling. I actually messed up 3 of the holes while drilling because I was careless and rushed. However, I just re-repaired the area with more Mighty Putty and you can’t even tell the repair was repaired!!!
After sanding I used some prep-sol to clean the dash real good. I then propped it up on some saw-horses to I could get in all the crevices. Below is the repaired area after a couple coats of self-etching primer.
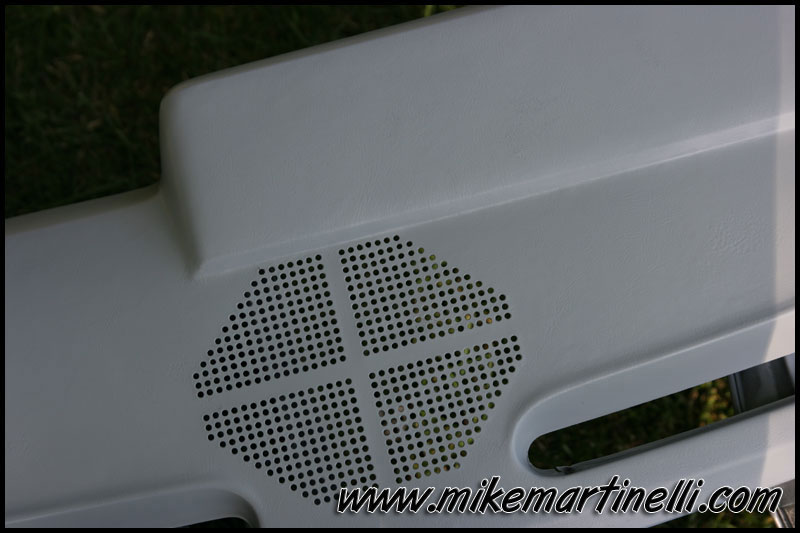
This is the repaired area after color. I used Mar-Hyde Gray Satin Aerosol (3821) (Made by 3m) as it matches real nice.
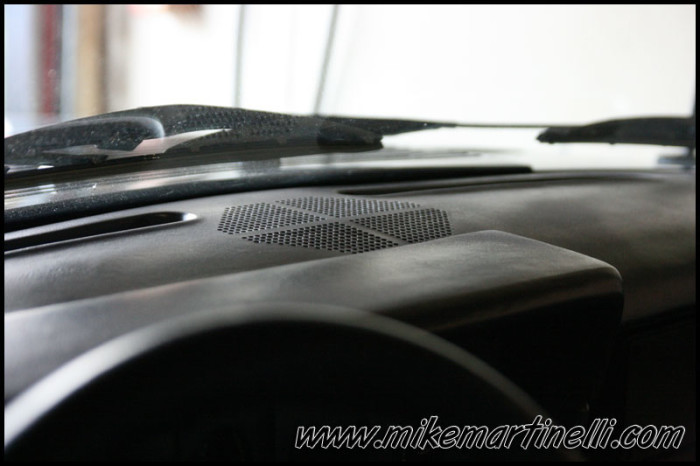
This is the repair with the dash back in the car. It was hard to get a good picture of it in the garage.
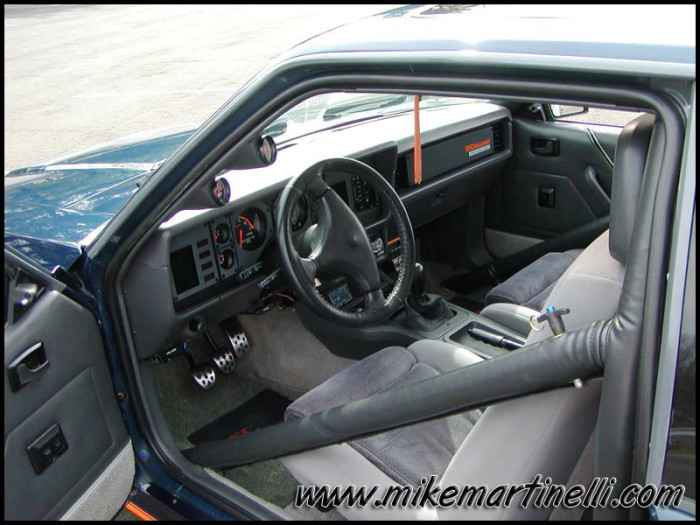
And for a better look at the paint color, here is a better shot of the dash from when I refinished it the first time. This picture is from ’04 but the dash paint is from about 1998.
In Conclusion:
Overall I spent several hours testing, making templates repairing and re-painting everything. The actual repair (Preparing the surface, kneading the putty in to place, sanding and drilling) took maybe half an hour so it was well worth it. Decent used dash pads go for over $100 so I saved a bit of money – Hey I even got the Mighty Putty for free! Can’t beat that. Also, someone said there is a similar product that’s been around for years called “Wonder Putty“. This would probably work the same.
I hope this helps as I haven’t seen anyone try to repair this on the web. Good luck if you attempt and if you need any other help CONTACT me with questions and I’ll do my best to help out.
3 comments on “79-86 Capri Mustang Dash Pad Fix”