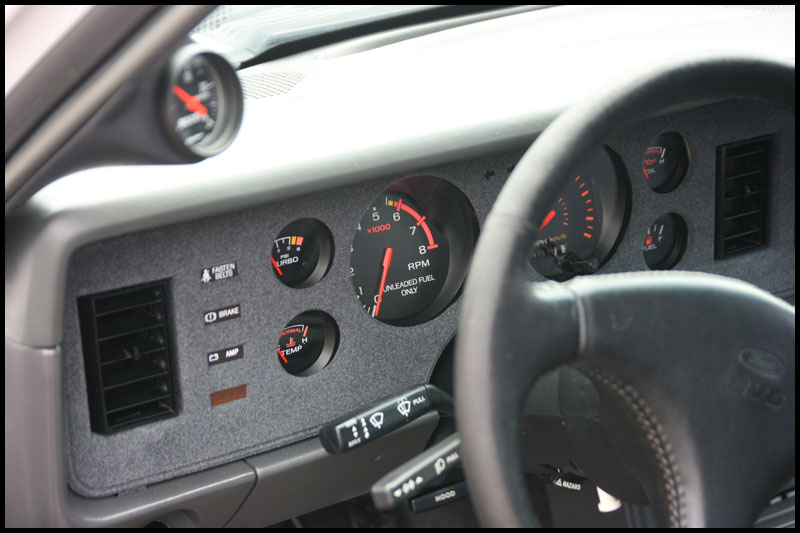
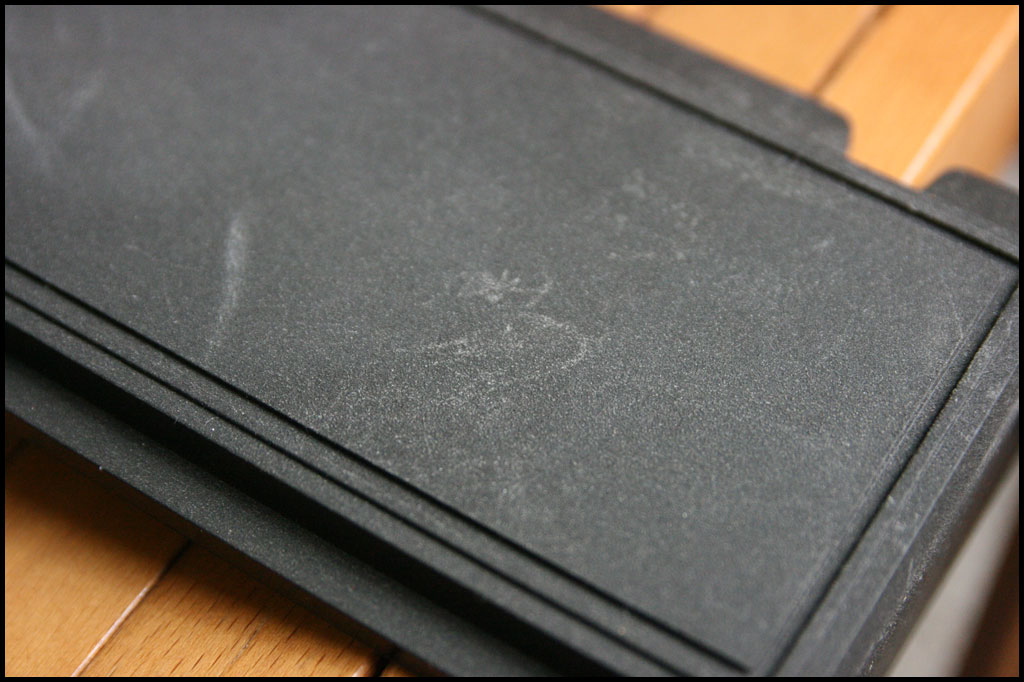
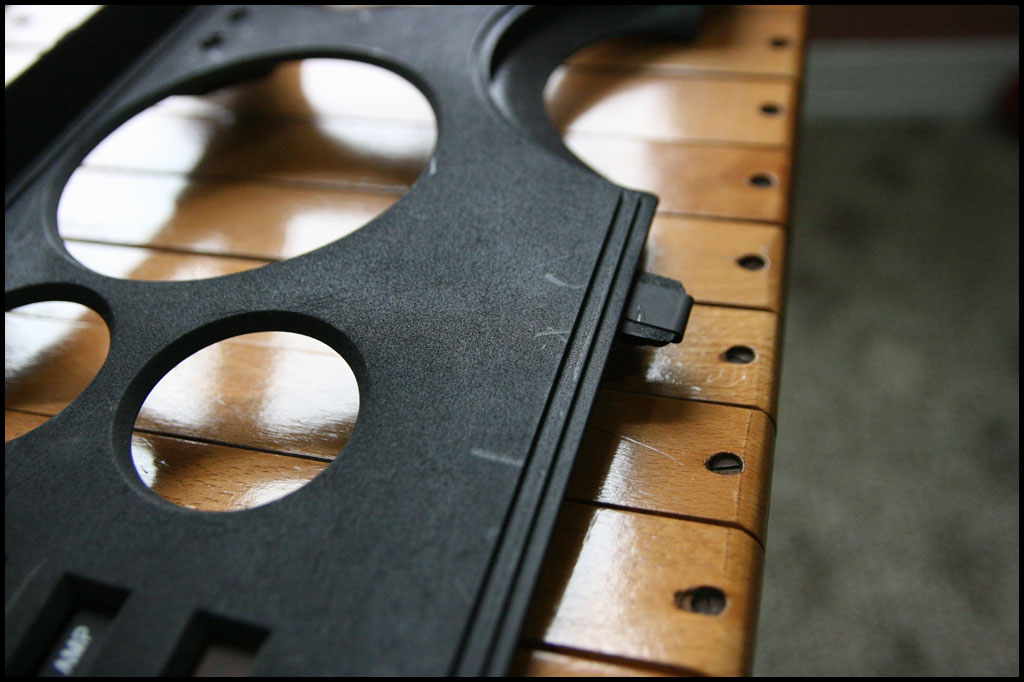
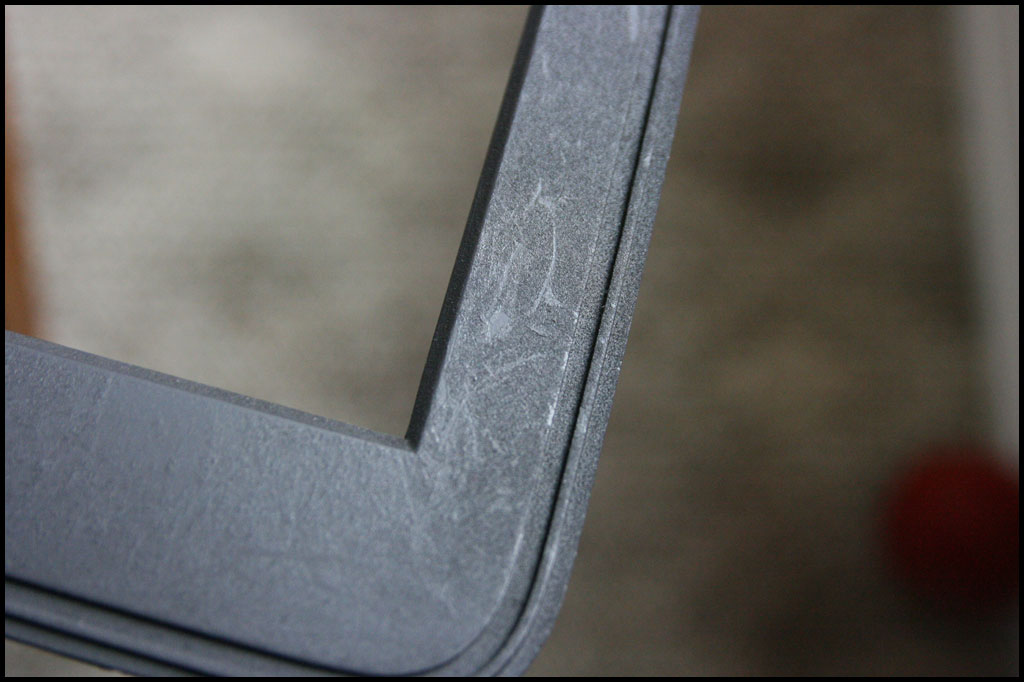
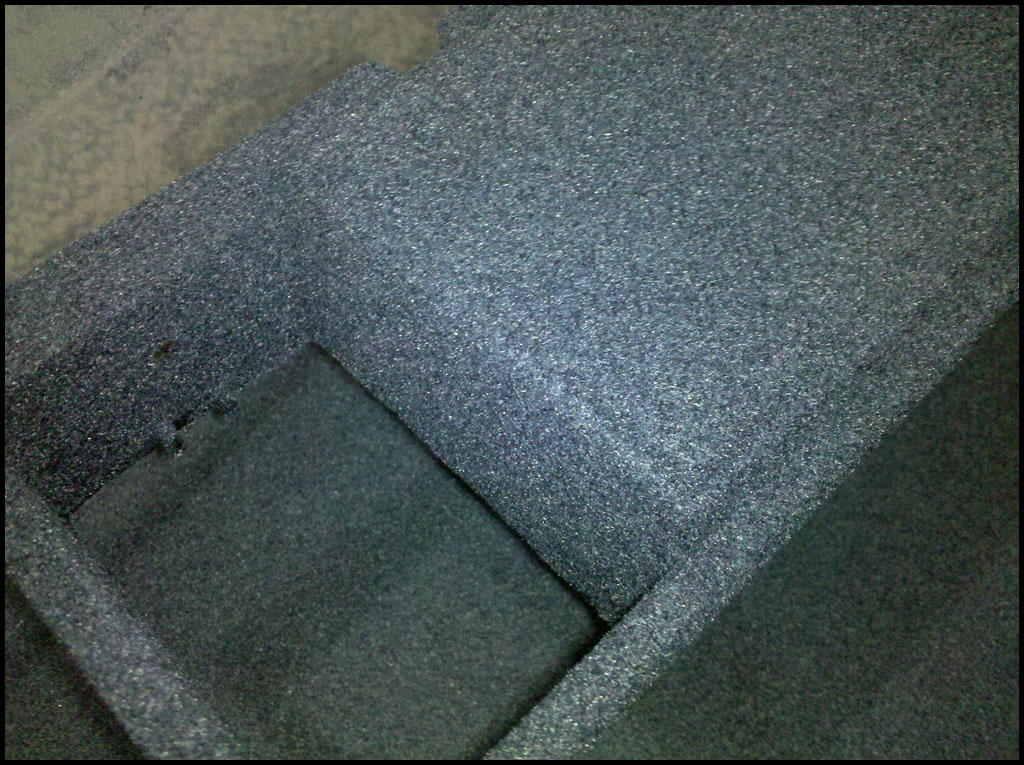
So the dash panels in the SVO weren’t in the best shape when I got the car so I decided to research “re-fuzzying” it. After some quick searches I decided I was going to tackle it. See below on how it looked before I started.
I had heard about “flocking” years back and this ended up being the route I took to achieve the fuzzy dash. My research found a lot of people who make decoy ducks flock the heads and necks for a more realistic look. Also, flocking can be found in jewelry boxes and also model car interiors!! I found a couple sites that sell everything but ended up narrowing it down to 2 different places. One place for the fibers and “gun” and another site for the colored glue. However, I realized the “glue” was simply paint. I probably could have just used some gray modeling paint and been just fine – Oh well, live and learn.
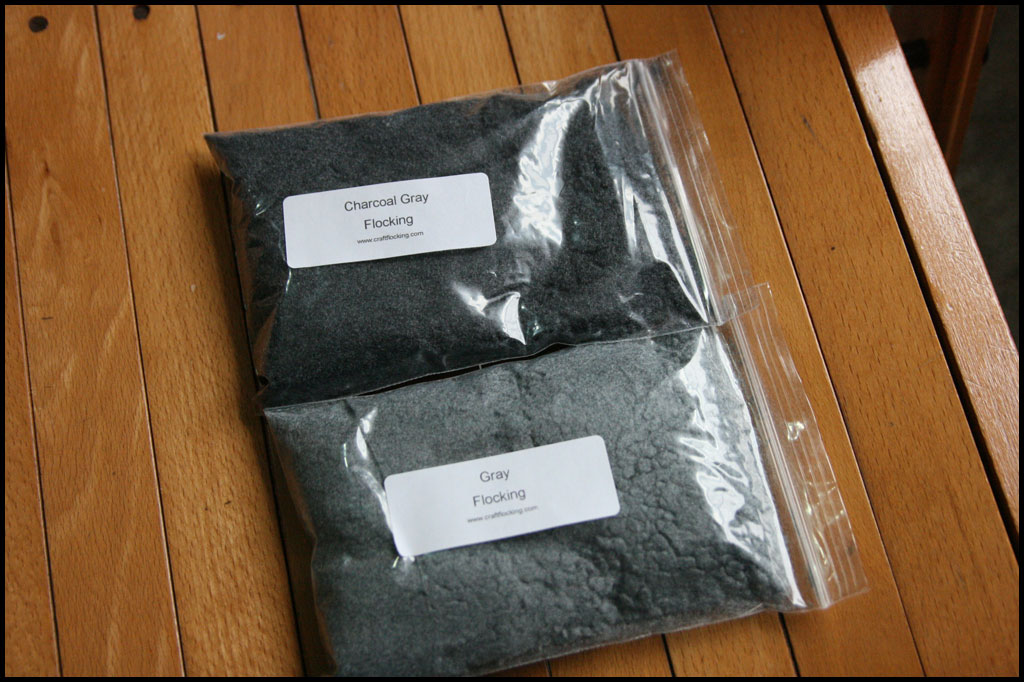
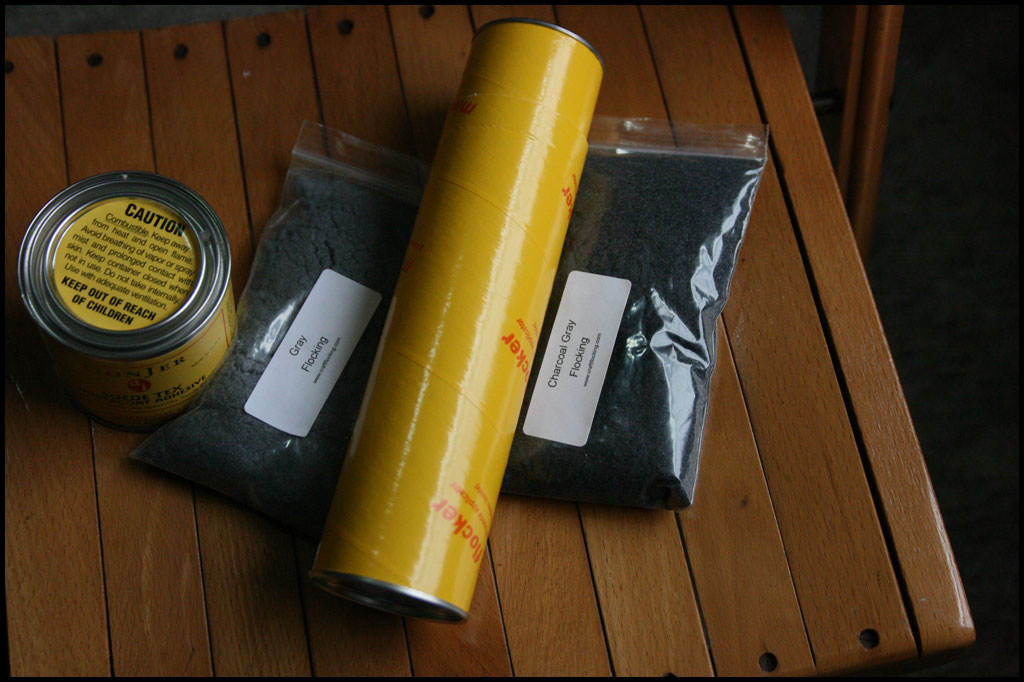
I got the gun and fibers from www.craftflocking.com. I ended up getting the charcoal gray AND the regular gray because I didn’t know which one would be better – internet pictures aren’t always representative of the final product so I wanted to make sure I had everything I needed the first time around. I ultimately used the charcoal gray though – available HERE:
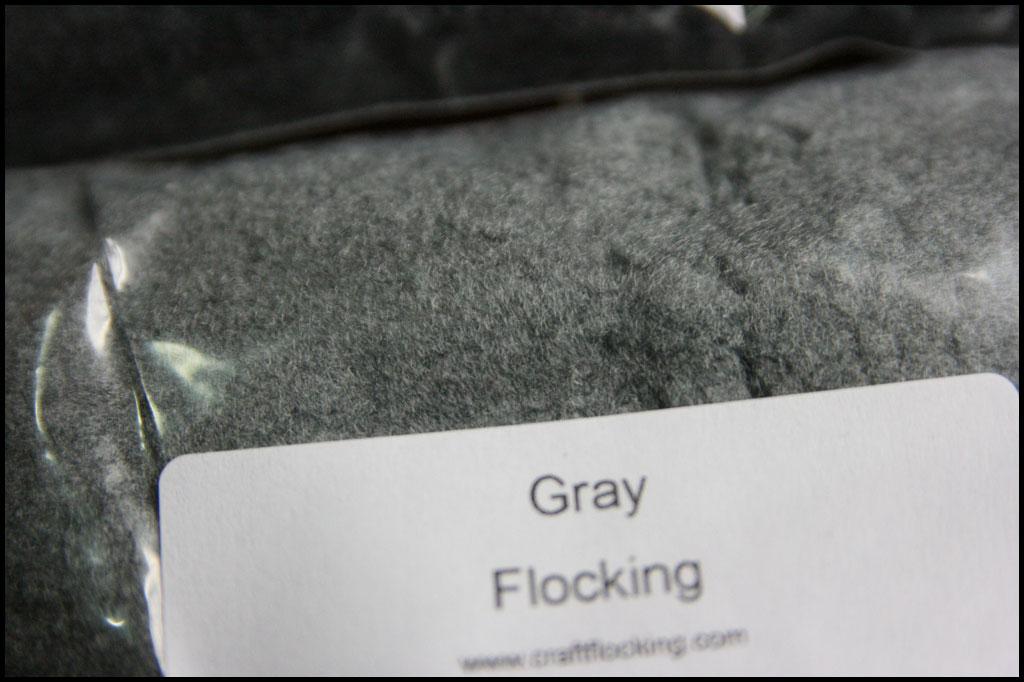
Regular Gray:
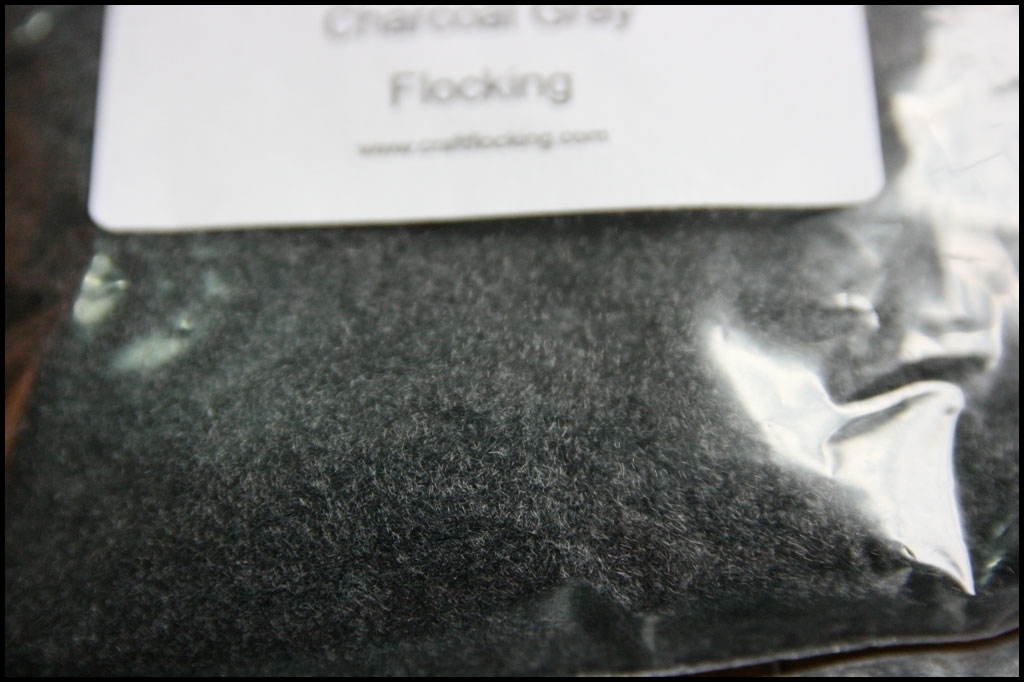
Charcoal Gray
Both Together
The gun is available HERE:
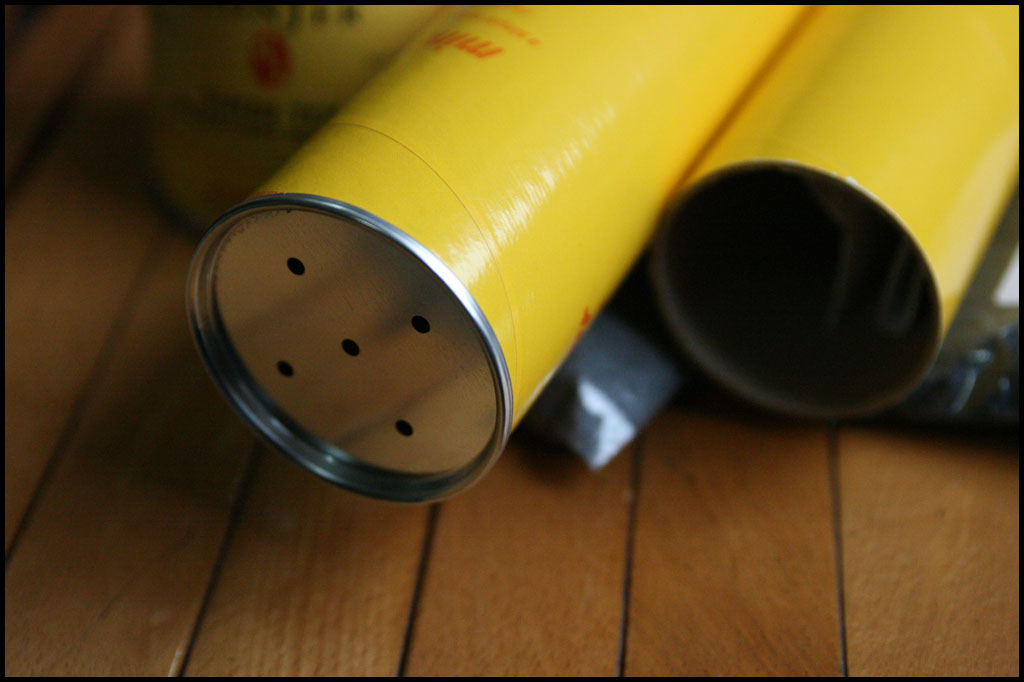
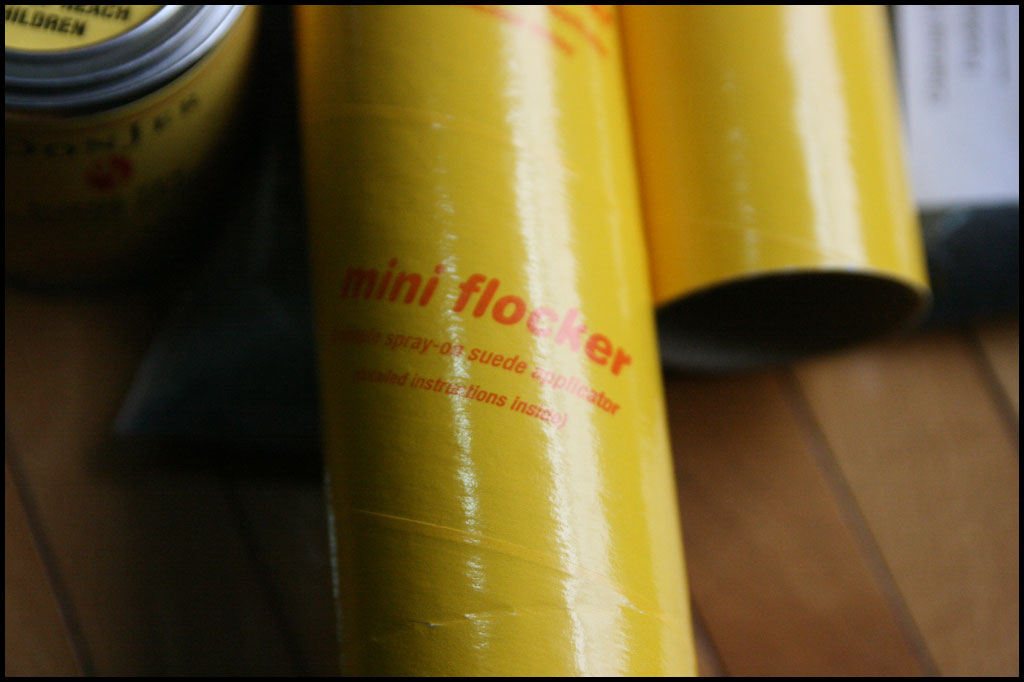
NOW, if you’re really handy you could even make the gun yourself. You’ll see in the pics above it’s just two tubes that fit inside of each other. The outer tube has some holes in it and it’s got to be a good tight fit though so the fibers blow out nicely.
The glue came from www.midwesttechnology.com and is available HERE: (Scroll down to find charcoal)

AND here is everything together:
The drivers’ side panel comes off super easy so I won’t go into that – it’s the passengers’ side that’s a bit of a pain. Once you remove the glove box door you have to reach up and remove the speed nuts. Thanks to DrDirt over at FEP for the pic below. It shows the location of the 11/16″ speed nuts on the back side of the dash. It gives a nice reference when reaching up through as to where you need to be.
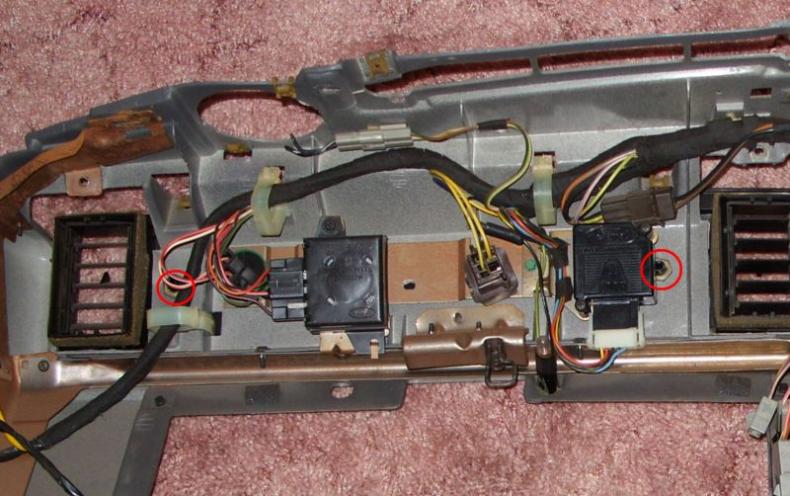
I ended up having to remove that white clip so I could slide the wiring harness out of the way to get to the nut closest to the door (on the left in the picture) but each car is probably different so have patience. If you lay upside down and shine a flashlight up in there you can see what’s in the way…Like I said have patience you’ll get it.
Once you get both panels out of the car you’ll need to remove the vents. This is self-explanatory so I won’t go in to detail.
For the drivers’ side panel you’ll need to remove the indicator light lenses to achieve best results. I suppose you could mask around them but it’s probably more trouble than removing them and certainly won’t look as good.
I got a great tip on how to do it from Mike (Zap’s 85 GT) over at FEP and it ended up working awesome for me too – Thanks Mike! We used a soldering iron to melt the plastic rivets that hold the lenses in place. There is plenty of material left to re-melt the lenses back on when it comes time to put everything back together…worked like a charm. Just take your time and be careful to not melt through the panels. Unfortunately I don’t have pics of the process but simply melt the plastic rivets until the lenses come off.
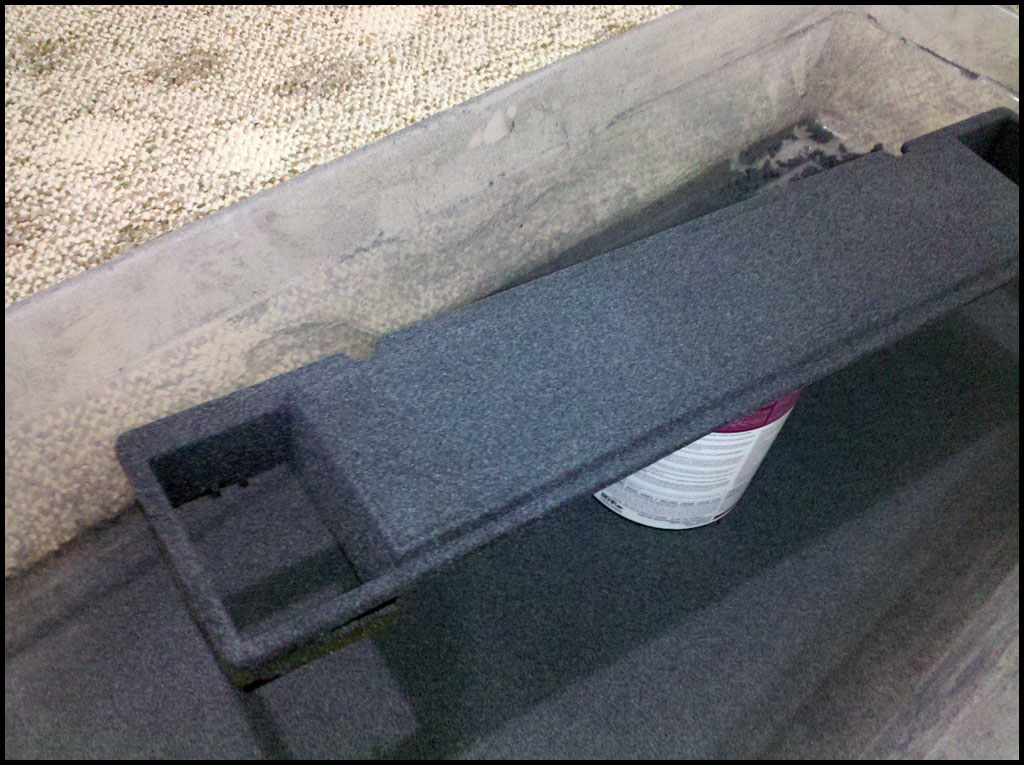
Once clean of old fuzzy I gave them a final wash with dish soap. You’ll want a large, clean smooth area to perform the flocking in because the fibers do blow around a lot – plus you need to capture the un-used fibers. I used a large low profile plastic storage container to do everything in – it worked real nice and I was able to re-capture the un-used fibers with ease and the dried glue drippings popped right off.
You’ll want to be certain you cover the entire panel with glue and be fairly generous with it. HOWEVER, make sure to work at a decent pace and use a half decent quality brush to minimize brush strokes. I used a real crappy brush and you can faintly see some brush strokes in person…overall I’m super happy with the result but if I did it again I’d make sure to have a better brush and I’d work a little quicker so the glue didn’t dry as fast.
Once you’re sure it’s completely covered with glue it’s time to start flocking. I had the gun pre-loaded with fibers and ready to go. Start pumping the gun until fibers come out. You’ll get the hang of it real quick. Be liberal with the fibers – load the panels and cover every crevice completely. Make sure to get every angle and up in the vent boxes. You’ll want to put WAY more fibers on then will actually stick but you have to, to make sure everything gets covered. Excess fibers will fall off and be available for re-use once the glue is dry. I think the instructions said let dry for 15 hours before moving but I ended up waiting over a day because the edges were still wet.
Now it’s time to shake the excess fibers off the panels. Simply, but carefully flip the panels over and shake off. I gave a couple taps on the back too to ensure all the excess was off. At this point some edges and glue drippings on the back were still wet so I decided to let the panels dry for several days before handling anymore. I didn’t want to take any chances.
Once it was dry I re-installed the vents and melted the indicator light lenses back on. Getting them back on was a bit trickier then getting them off but with patience it’s not too bad at all.
After the vents and lenses were back in it was time to re-install the panels back in to the car. I did the passengers’ side first – re-installing it was WAY easier than getting it off that’s for sure. My hand pretty much went to the right spot and I was able to get the speed nuts back on with NO problems. The drivers’ side is of course cake – but be careful when handling the panels so you don’t scratch them up.
Below are pictures of the final product and I’m really happy with how they turned out.

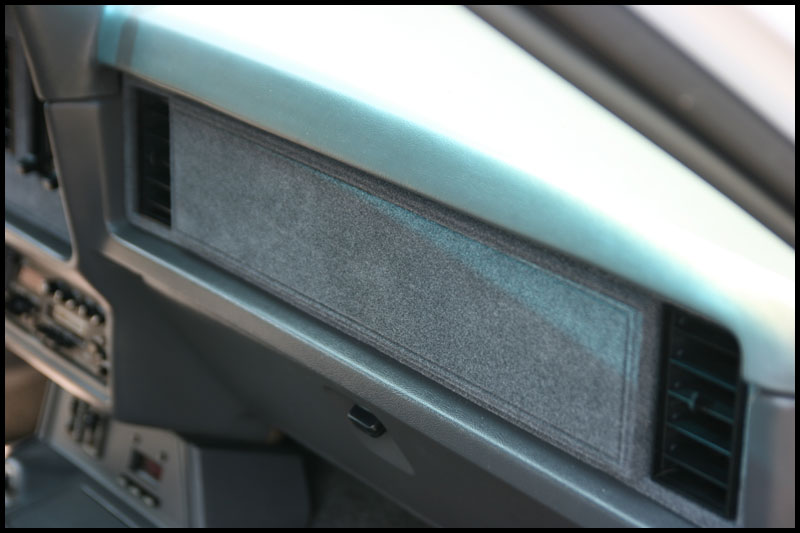
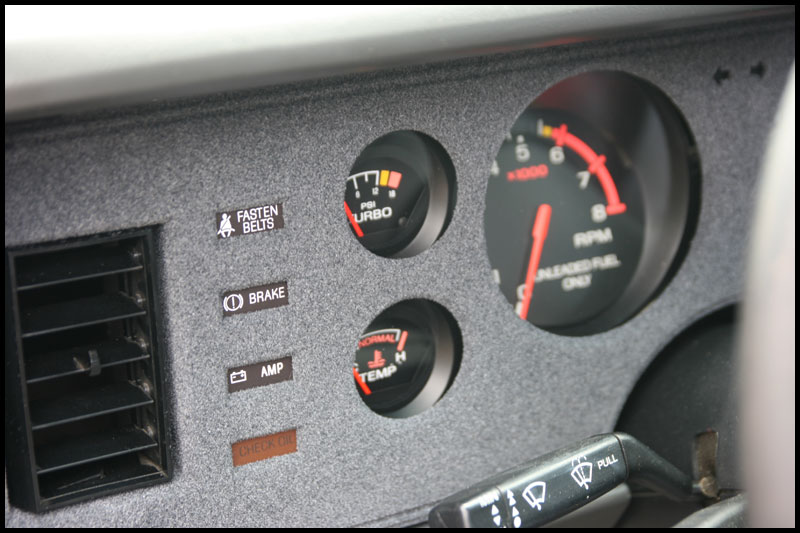
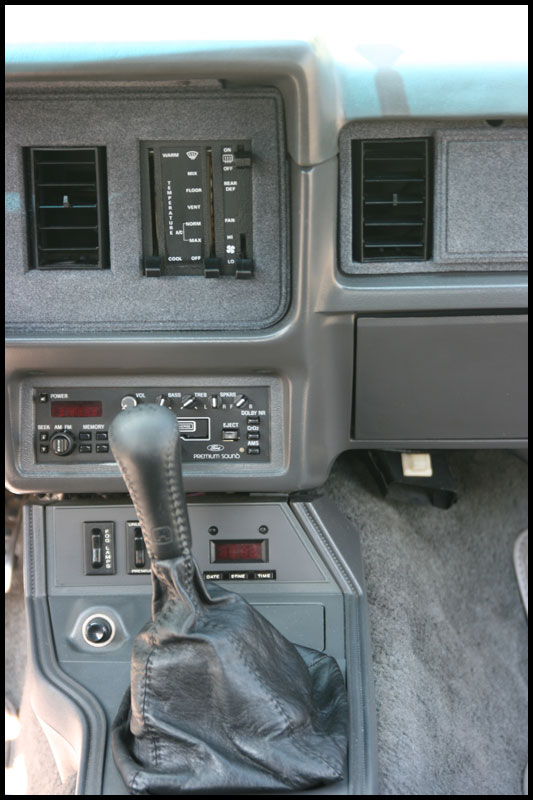
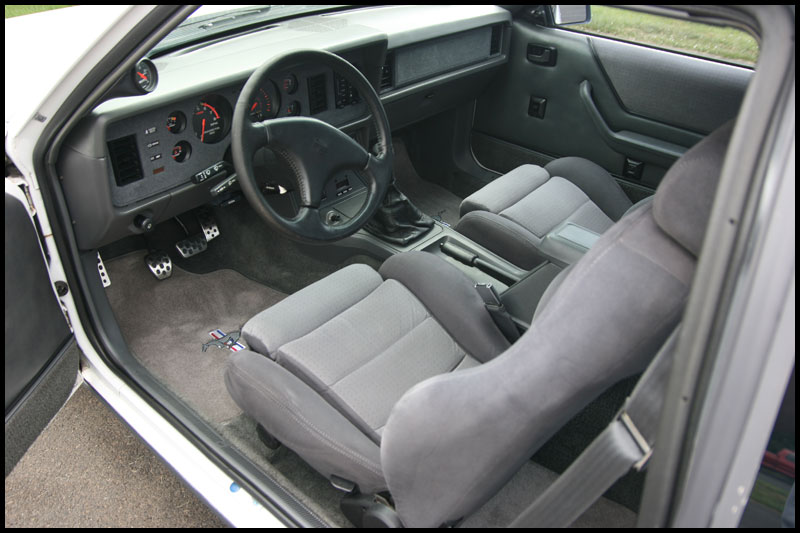
All in all the actual process of re-flocking the panels didn’t take too long…maybe a couple hours. Waiting for them to dry actually took longer. I’m SUPER happy with the end result and it really makes the interior pop. Honestly, I’ve never even seen another SVO in person so it’s probably not an exact match but I’ve gotten nothing but compliments and it looks (and feels) much better than what I had going when I got the car.
I hope this helps anyone wanting to try this on their own. I’ve not seen anything else on the web on how to do it so I figured I’d do my best to document the process. CONTACT me with questions or if you’d like me to re-flock your panels for you.
Click HERE for the write-up picture gallery – and click HERE for more pictures of the interior.
1 comment on “Mustang SVO fuzzy dash refurb”