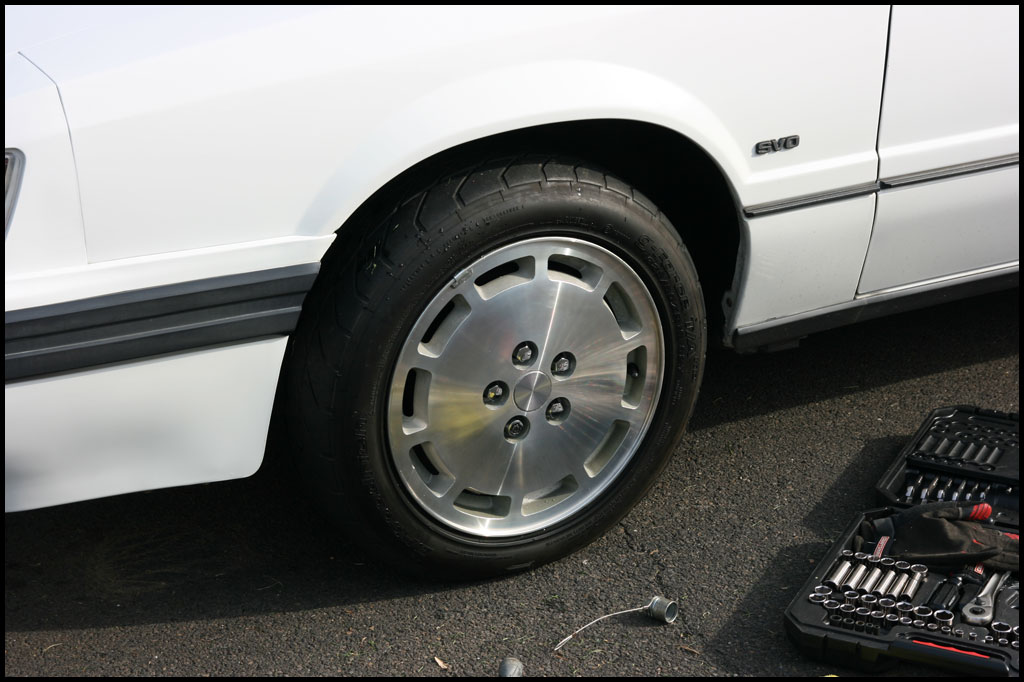
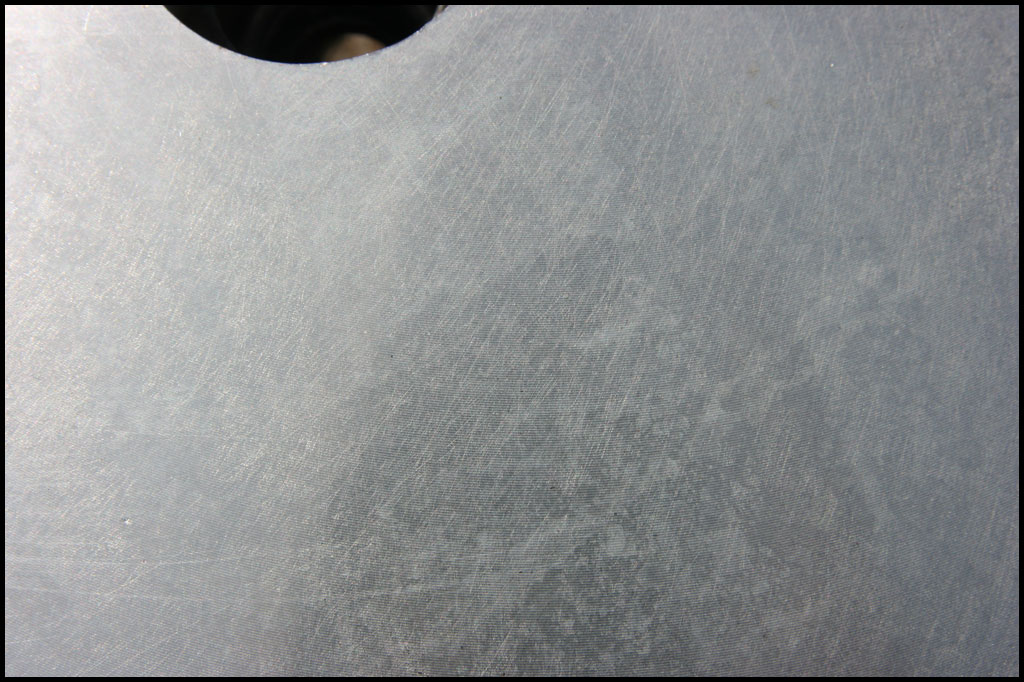
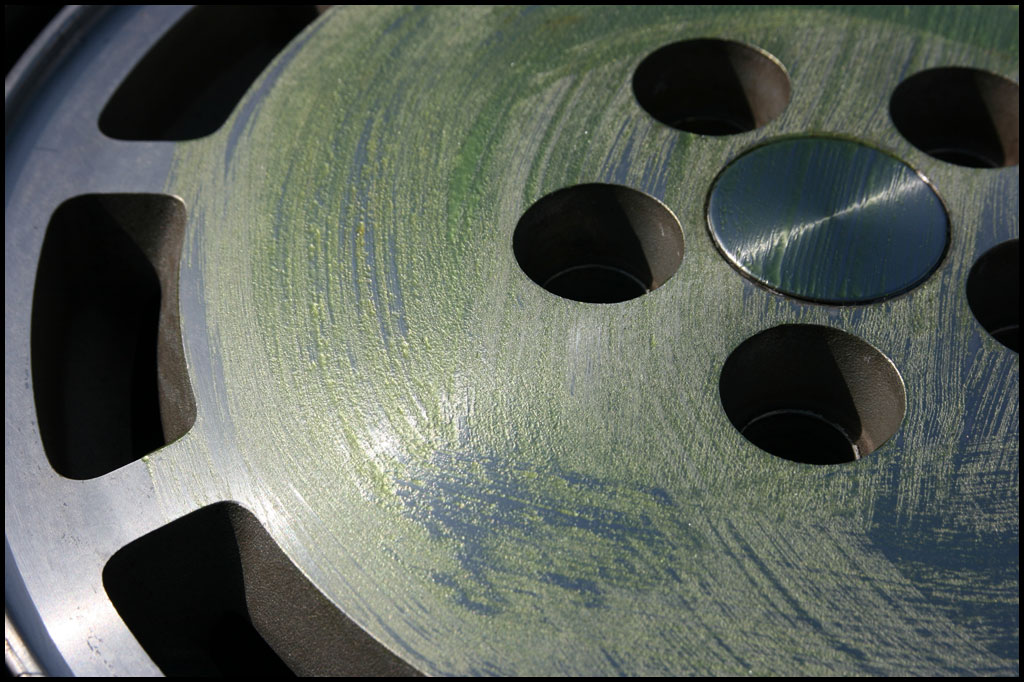
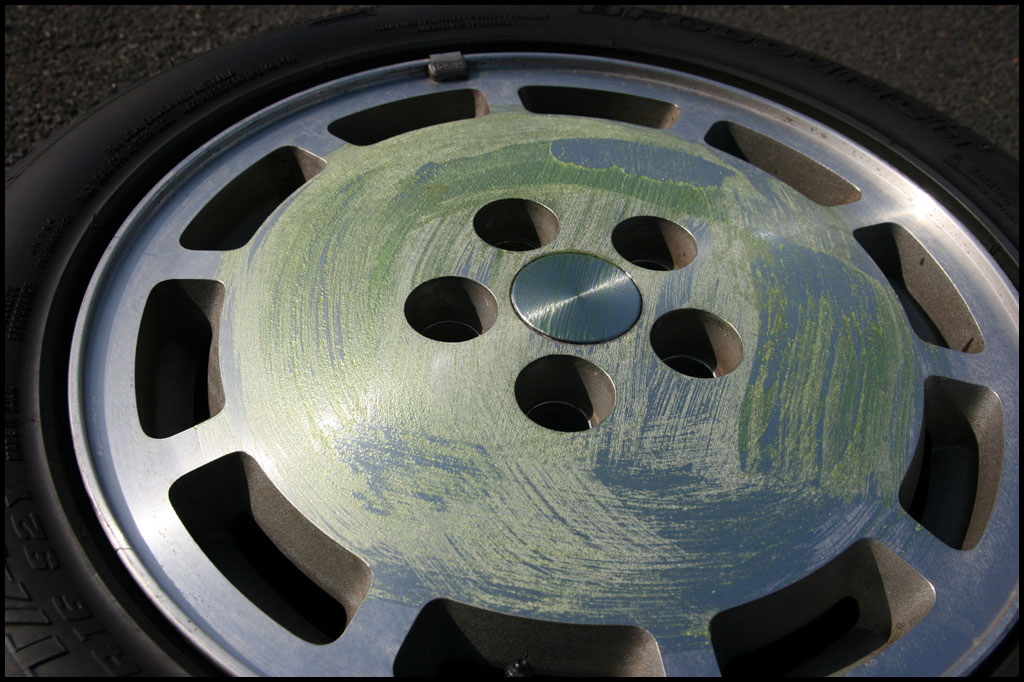
The wheels on my Mustang SVO were in decent shape when I got it but just weren’t up to my standards. The clear was chipping and checking in several spots and they just didn’t look that great – especially when they got dirty. They were “yellowing” in a few spots too – Additionally, one of them looks as if it was previously refinished so it looked better than the rest…so it was time for some refinishing. I did this over the course of a couple afternoons in April 2010 but just getting around to writing the article now! 🙂
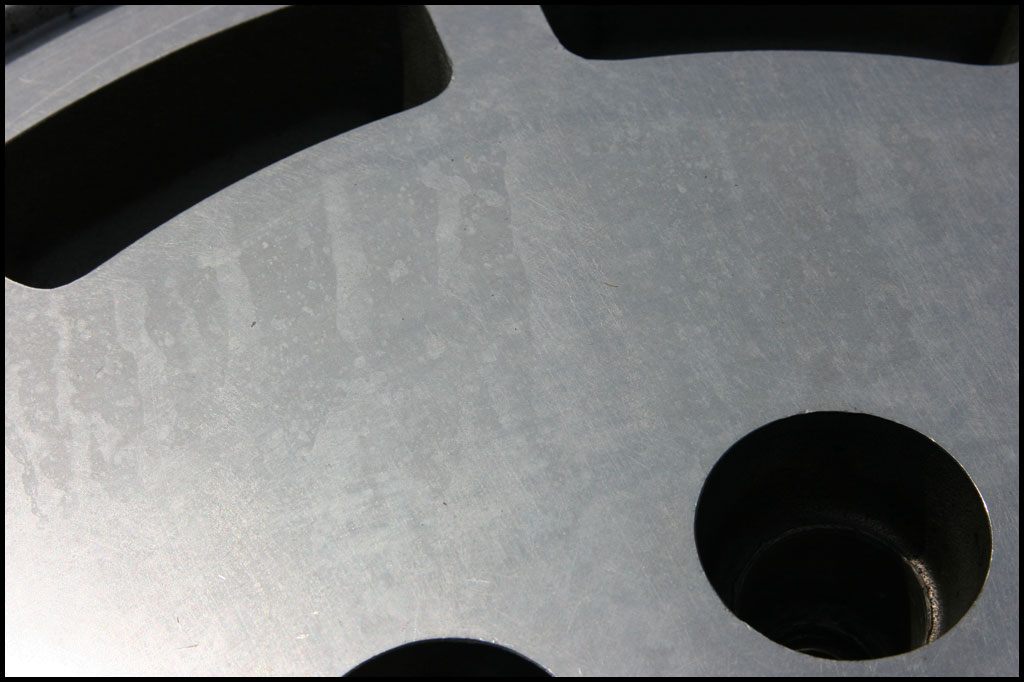
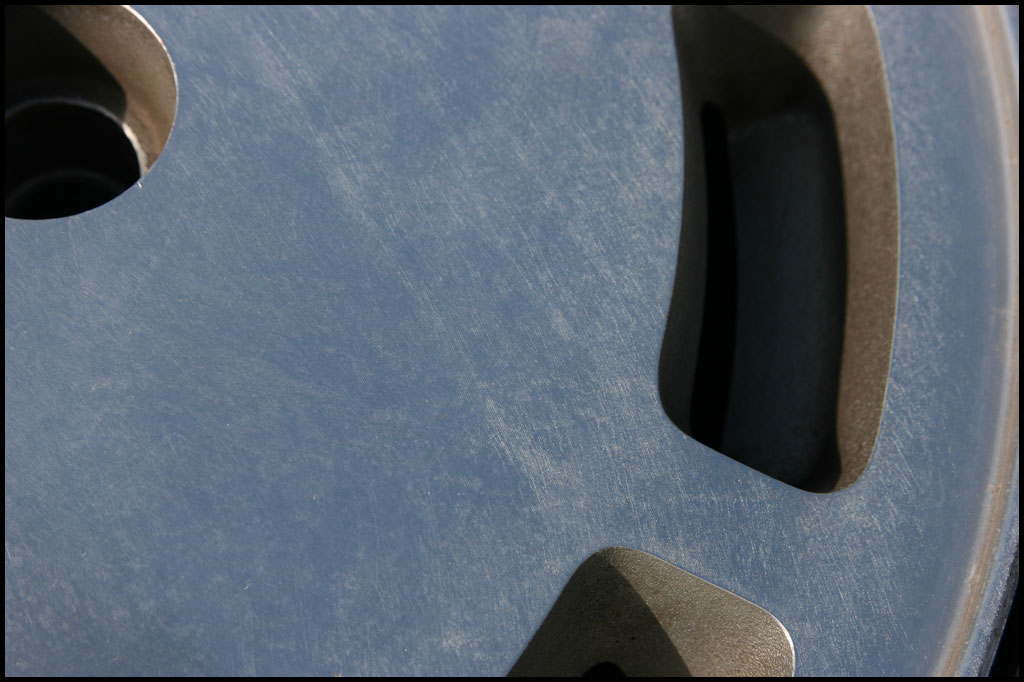
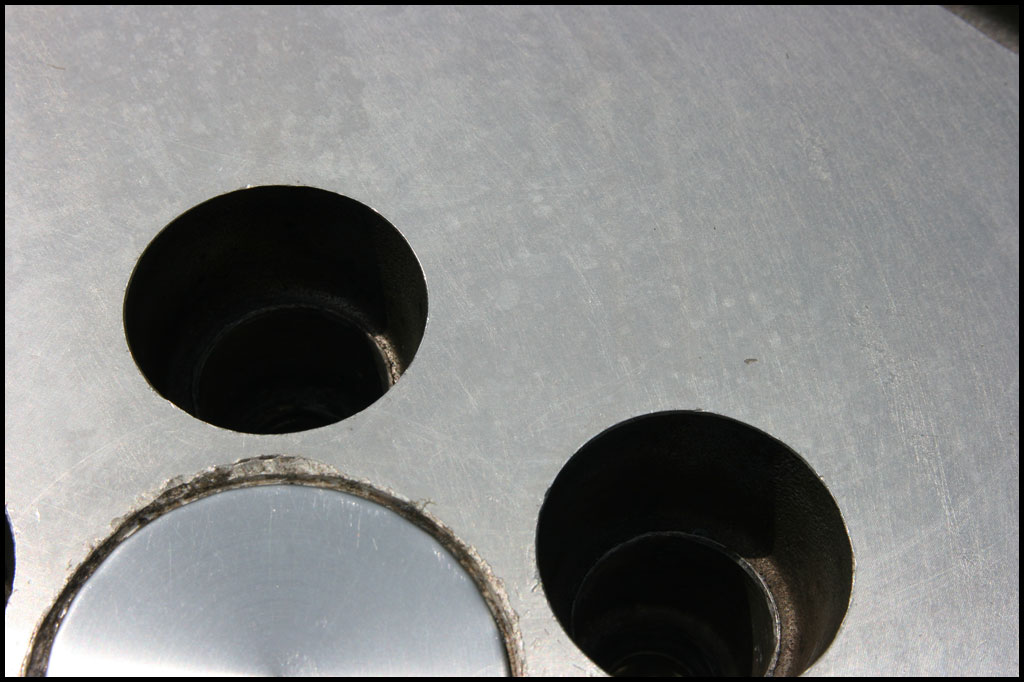
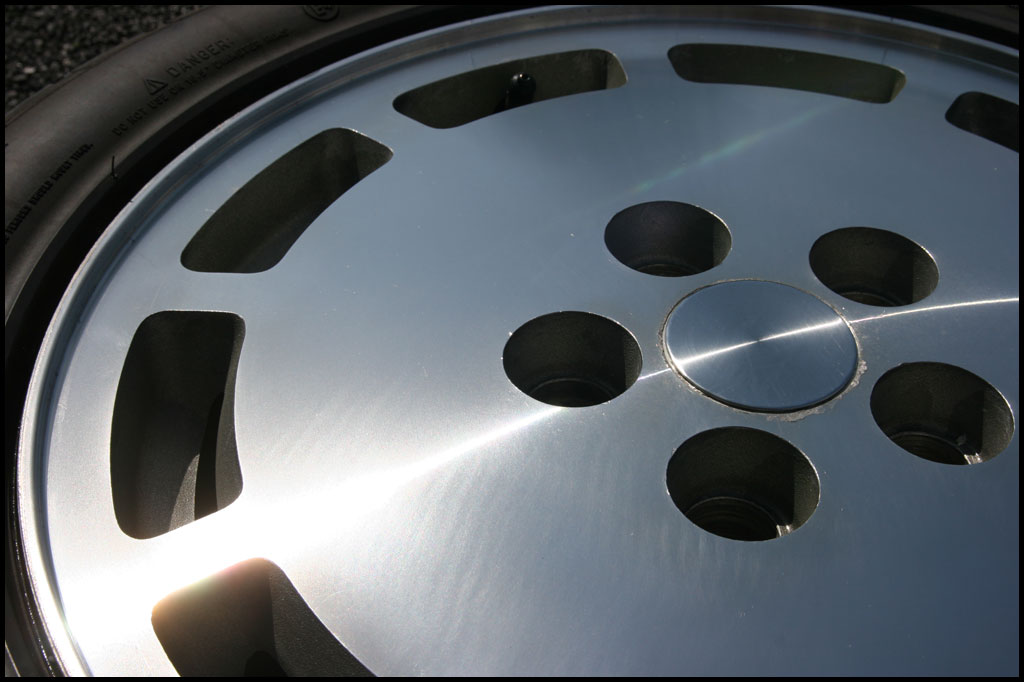
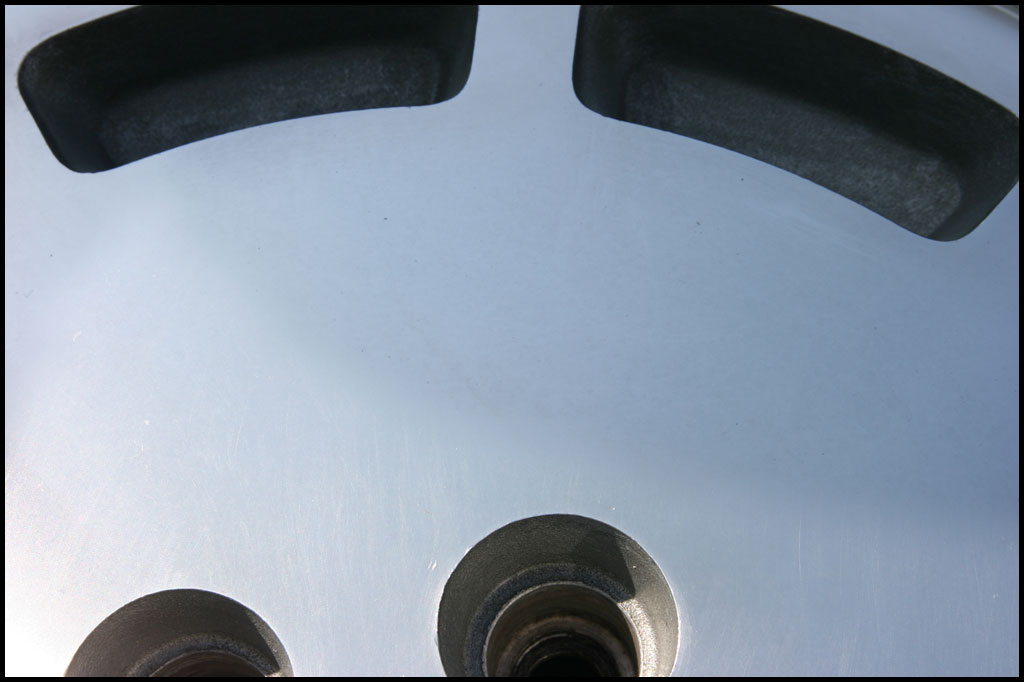
You can see the checking and staining in the next few pics:
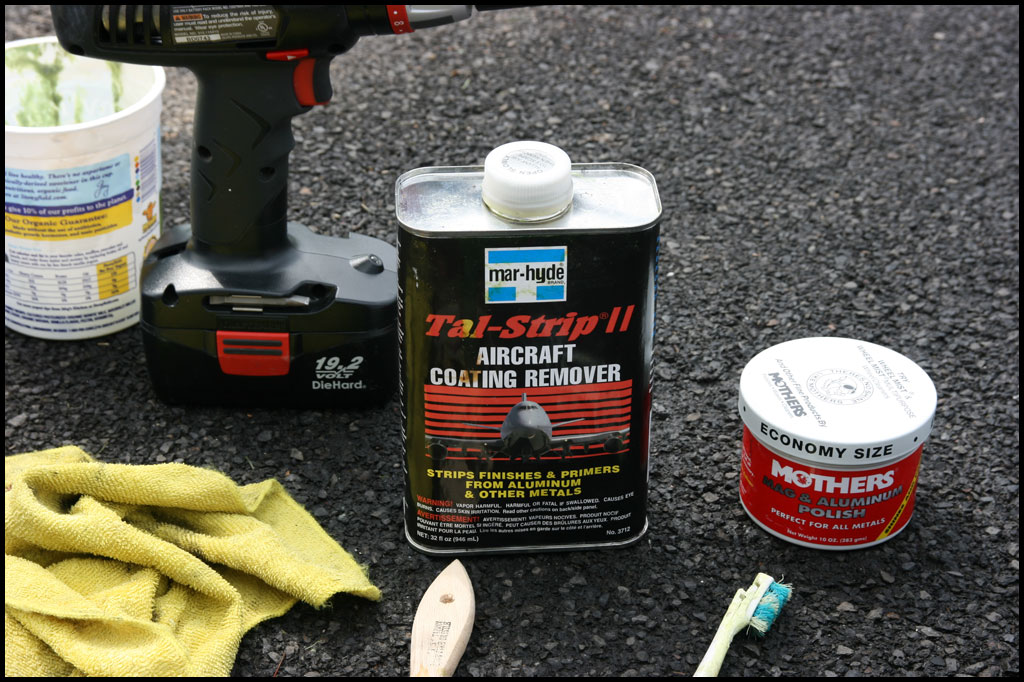
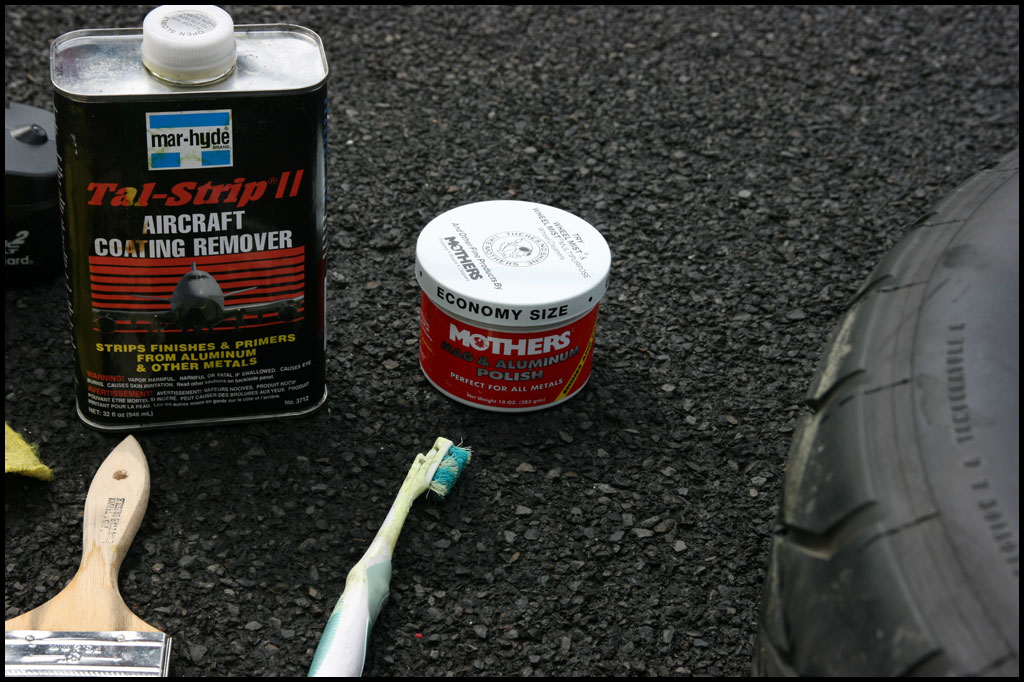
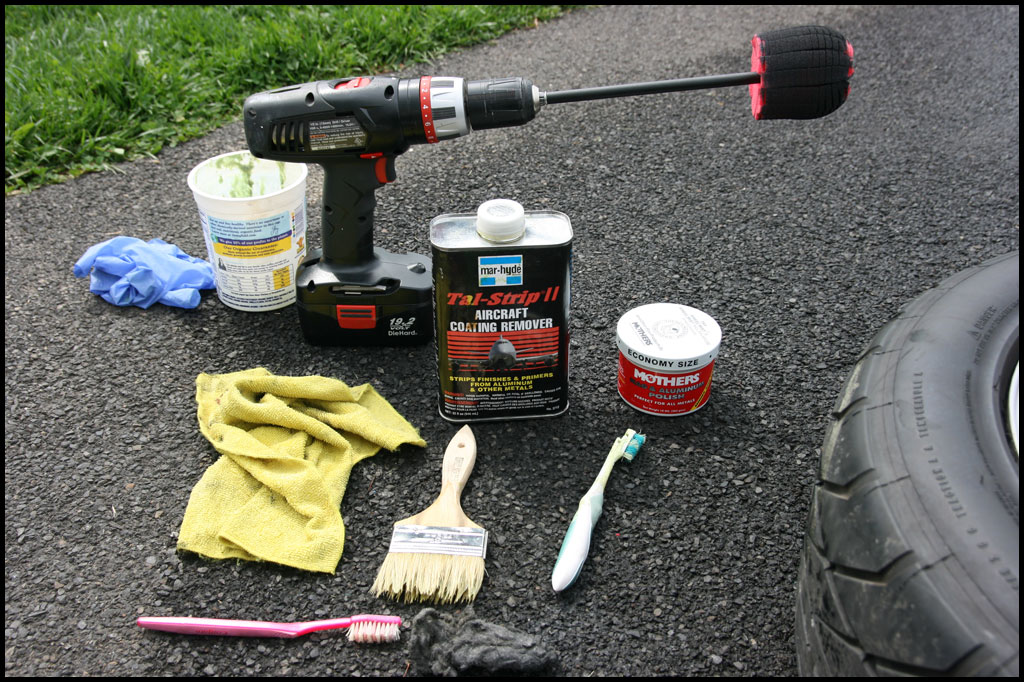
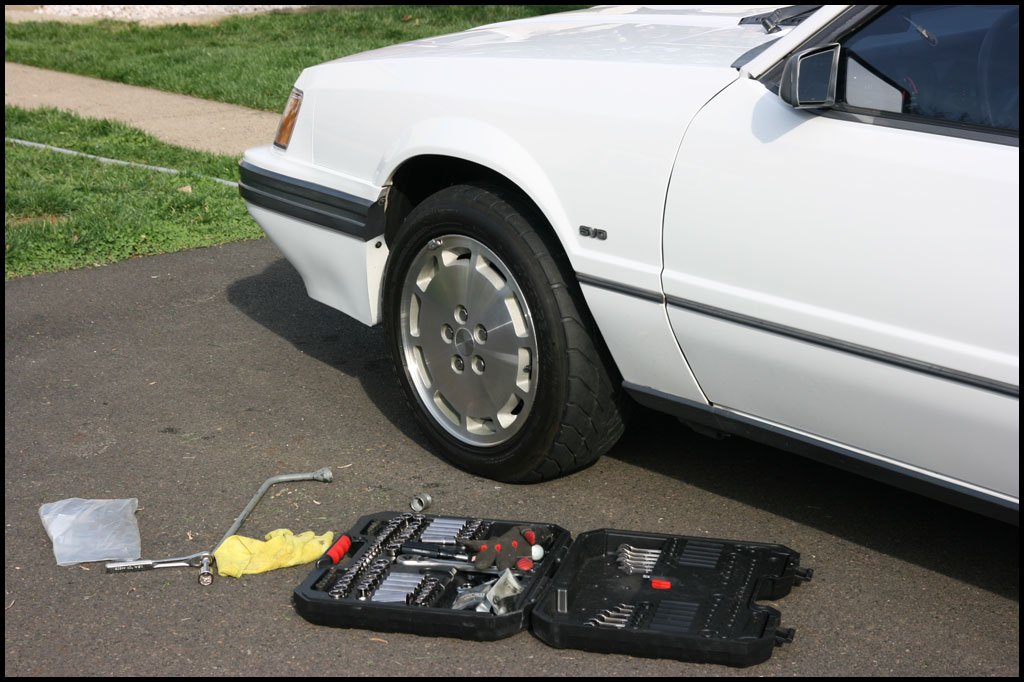
List of supplies:
(I got the stripper, brushes and scrapers from my local automotive paint supply store). Other stuff can be had anywhere.
- Aircraft stripper
- Cheap paint brushes
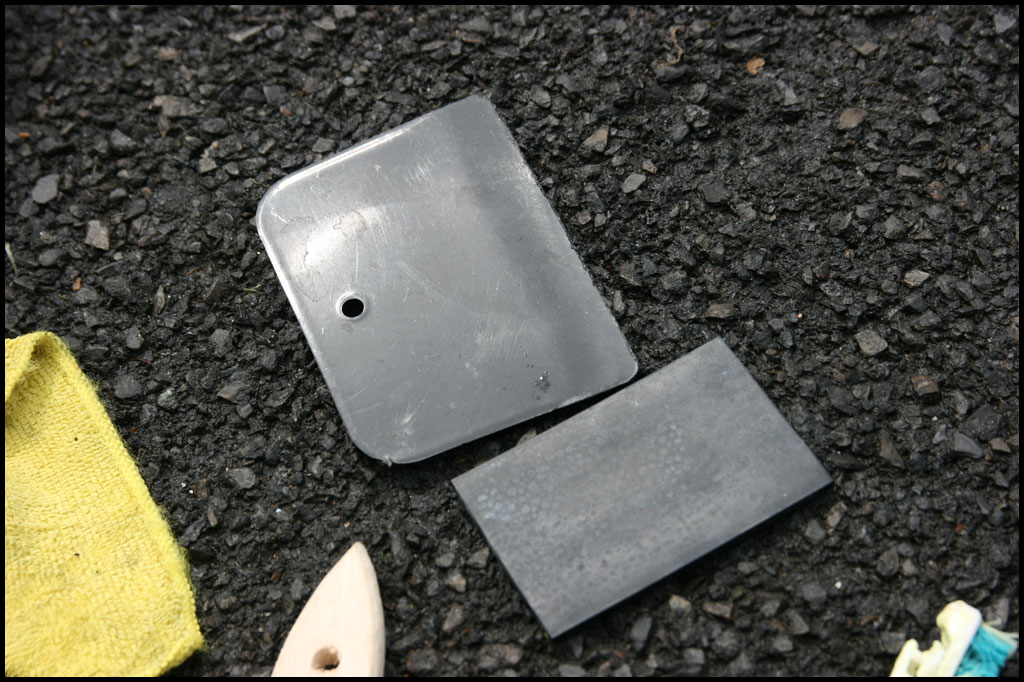
- Cheap plastic scrappers
- Old toothbrush
- Old plastic or glass container for old paint.
- Steel wool or Brillo pads
- Old rags
- Mothers PowerBall – optional – can be done by hand.
- Mothers aluminum polish – the PowerMetal polish actually works better.
- Safety Glasses, rubber gloves and a breathing mask – the fumes are nasty.
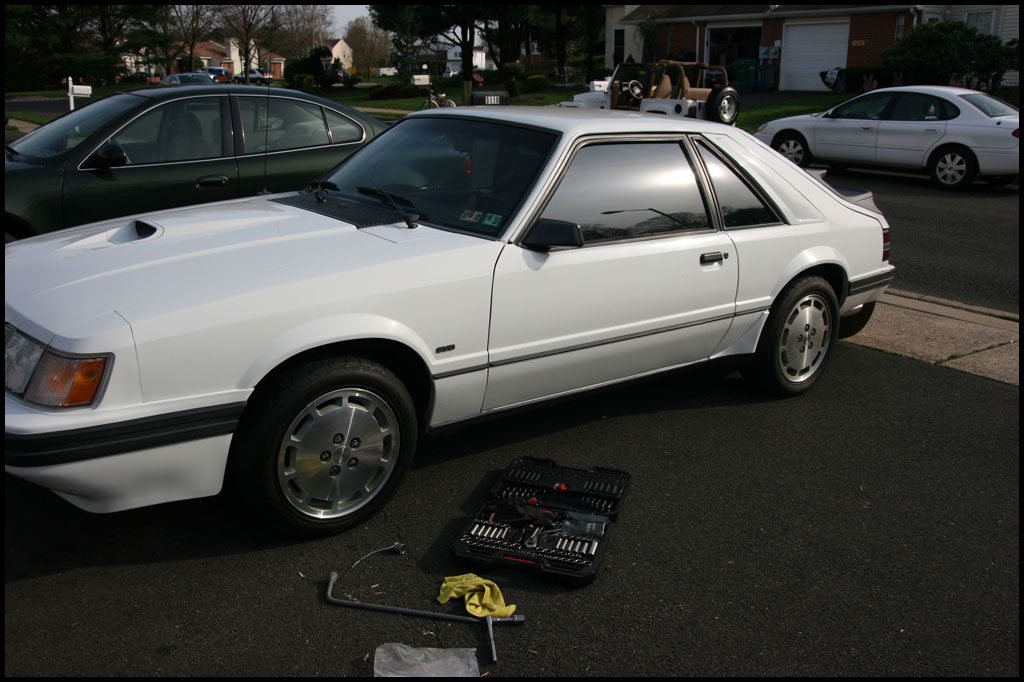
Once I had everything laid out I removed the wheels one at a time and cleaned and de-greased them really well! I left the tires on though – if you take your time you won’t have any problems with getting stuff on the tires…you can also mask the tires if you’re worried about anything. The first wheel took me longer than the rest but I averaged less than 2 hours per wheel – overall not too bad at all. Sure beats the $100-$200 per wheel cost to have them professionally refinished. I probably spend less than $60 total along with some elbow grease!
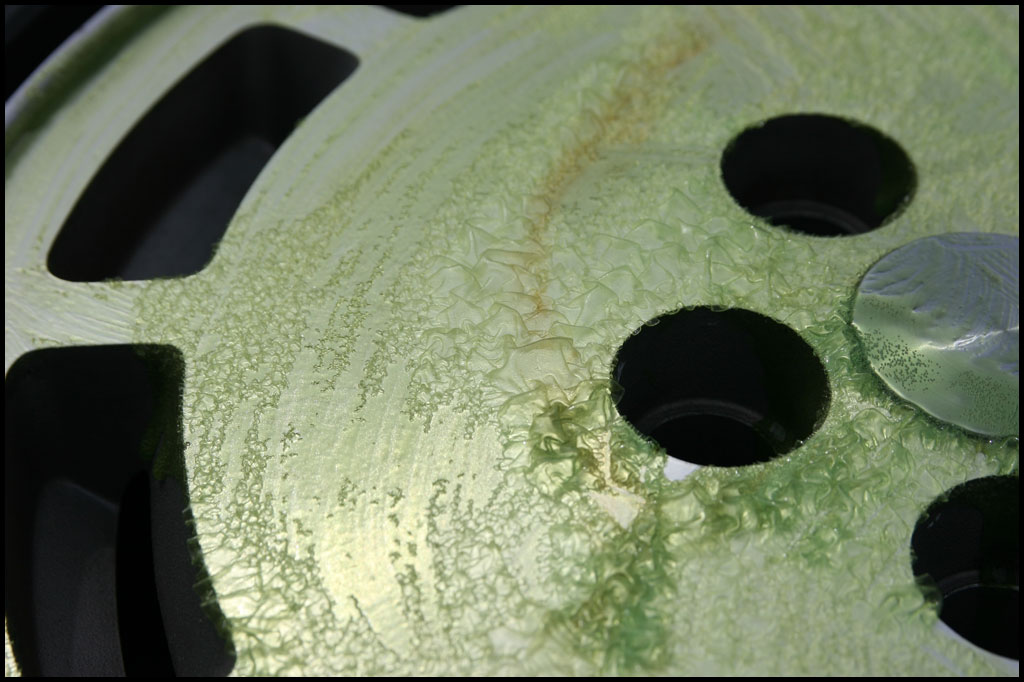
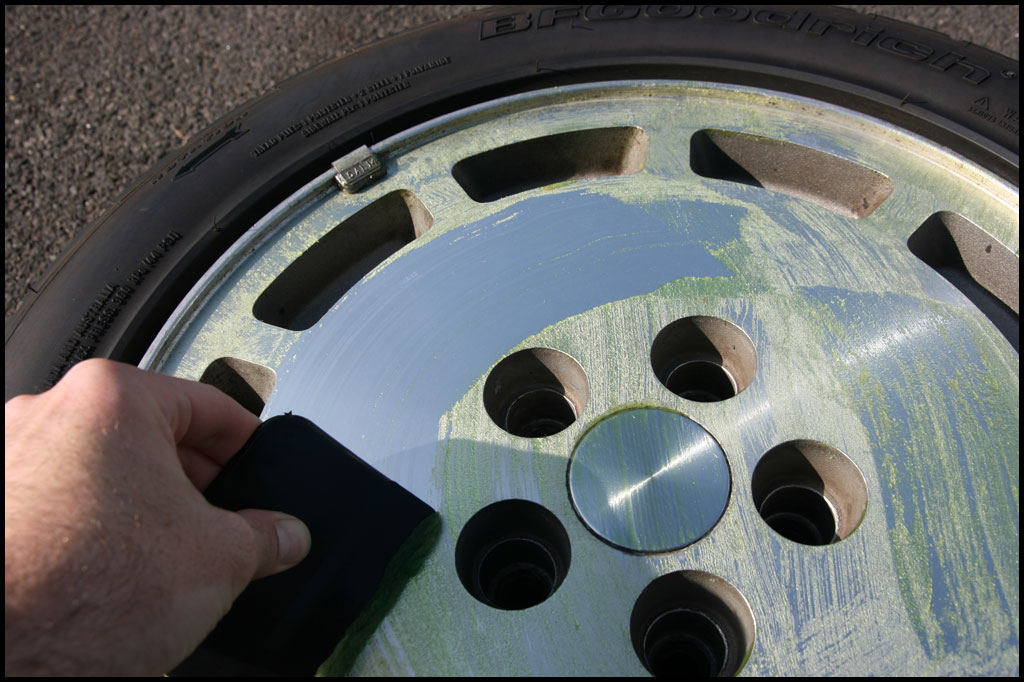
I first started off by brushing a liberal amount of stripper on the wheels. Fully read the instructions before beginning, as all strippers are different, but left it on for 3-5 minutes before starting to scrape. You can tell when it’s ready because it starts to bubble real nice.
You can tell how good they are going to look after that first pass with the scraper!
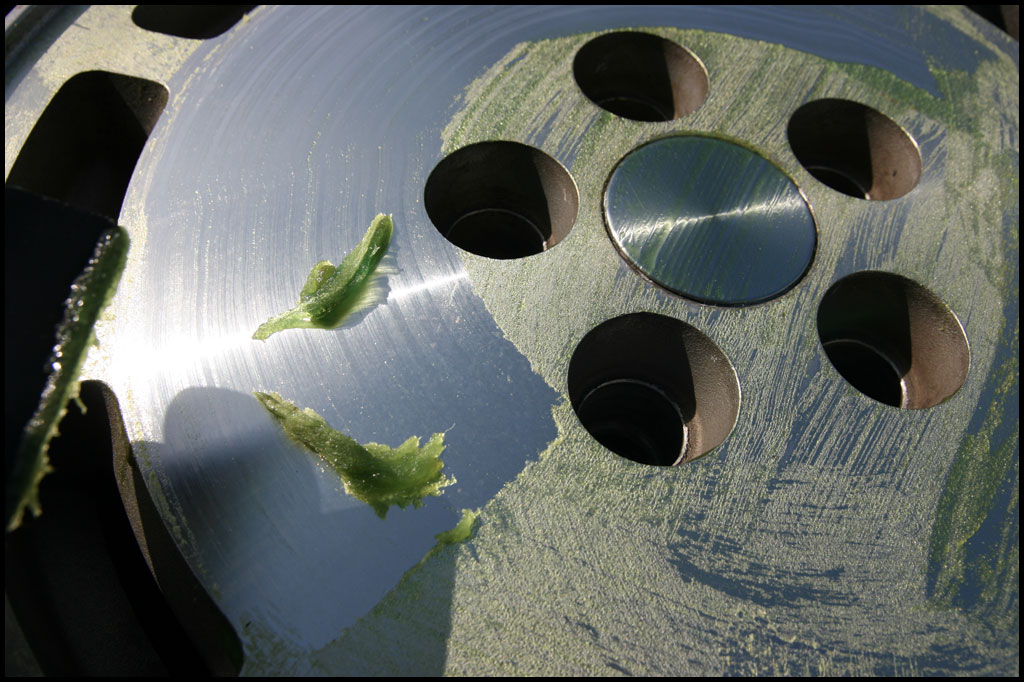
After you get most of it off with the scraper hit them with the hose. I believe you can take the hose right to them w/o scraping but I didn’t want the paint all over the place…
NOTE: once you put water on the stripper it’s neutralized and perfectly safe – I still didn’t feel like cleaning up large chunks of old paint from my driveway so I scraped first…You can see how much better they look already. However, there are a few spots that didn’t come clean.
Just re-apply stripper to the missed areas. Once it sat for a few minutes I hit them with the old toothbrush. It’s very helpful in the hard to reach areas and the lip.
Once everything is clean of old paint make sure they are thoroughly rinsed and dried.
Optional Step:
At this point I started to polish the wheels. HOWEVER, many people like to take the entire process one step further by sanding the wheels with several different grits of sandpaper in several steps. This removes the factory machined finish resulting in a super smooth, super polished (chrome like) finish.
Since you’re actually removing metal to achieve these results, a lot of times the end result looks a bit “wavy” to me and I don’t like that…
Personally, I like the machined finish and was looking for more of a super clean, only slightly polished “factory” look so I didn’t go the extra step.
I’m not going to go into great detail with the sanding process but in a nutshell you’ll probably want to get 220, 400, 600 & 1500 grit sandpaper. Begin with the 220 and once all the machine marks and nicks/chips are out move on to the 400. After the 400 you’ll want to move on but this time WET sanding. Once you’ve finished with the 1500 it’s time to start polishing.
Polishing:
I personally like Mothers products so that’s what I’ll be using here. However, there are a ton of products out there that will yield similar results. Here I used Mothers aluminum polish but have since found the Mothers PowerMetal polish actually works better.
Having the PowerBall helps a ton too but this can be done ALL by hand if you want to save a few bucks. You’ll just need more rags and more elbow grease! It’s a messy job but have patience and stick to it. Start with a liberal amount of polish. I like to spread it around with an old toothbrush first so it doesn’t “fling” all over the place when I hit it with the PowerBall. The toothbrush also helps polish those hard to read areas!
Slow and steady is the trick. Once the wheel gets super black you’ll want to begin hand buffing with a super clean soft rag. I usually have at least 2 rags and hand buff them several times. This is where they start to look awesome. The last rag will of course have the least amount of black on it. Continue to buff until all the black is gone and they are uniformly polished and free of haze. Doing things in the shade helps.
From here on it will be personal preference. It only took me one application of polish and the hand buffing and I was satisfied. The wheels were uniform, shiny and new looking. You can certainly repeat the polishing process again for even shinier results.
Excess polish wipes right off the tire and the non-polished parts with ease so no worries if it gets all over…as mentioned above I spread it around before hitting it with the powerball to minimize the mess…
Care & Maintenance:
Ultimately, the best thing to do after polishing is to get the wheels powdercoated clear. This will retain the shine and make cleaning a snap. However, it’s expensive and time consuming…not everyone has the time (or an extra set of wheels) to have the car off the road.
The next best step is to coat with some sort of metal sealer. I have NO personal experience with these products but from what I’ve heard they work well. Much cheaper than powdercoating too!
I keep mine bare as I’m lazy and cheap! I clean them with simple green but any wheel cleaner will work fine…HOWEVER, take caution when applying cleaners – even simple green. It’s been my experience if you leave the cleaner on too long it will completely dull the finish and even leave some temporary stains. At this time, re-polishing is necessary to get them back to looking new.
If you wet the wheel before applying cleaner and work fast (A toothbrush is great for cleaning wheels) to hose them clean you’ll be fine…They will remain to look good for a couple months.
Final Thoughts:
I’m super happy with the results and I get compliments all the time. They still aren’t perfect but much closer to it than before. As mentioned above I probably spent less than $60, a couple afternoons and some elbow grease…very rewarding in the end.
Plus you’ll have plenty of leftover supplies for polishing underhood components!
Final Results:
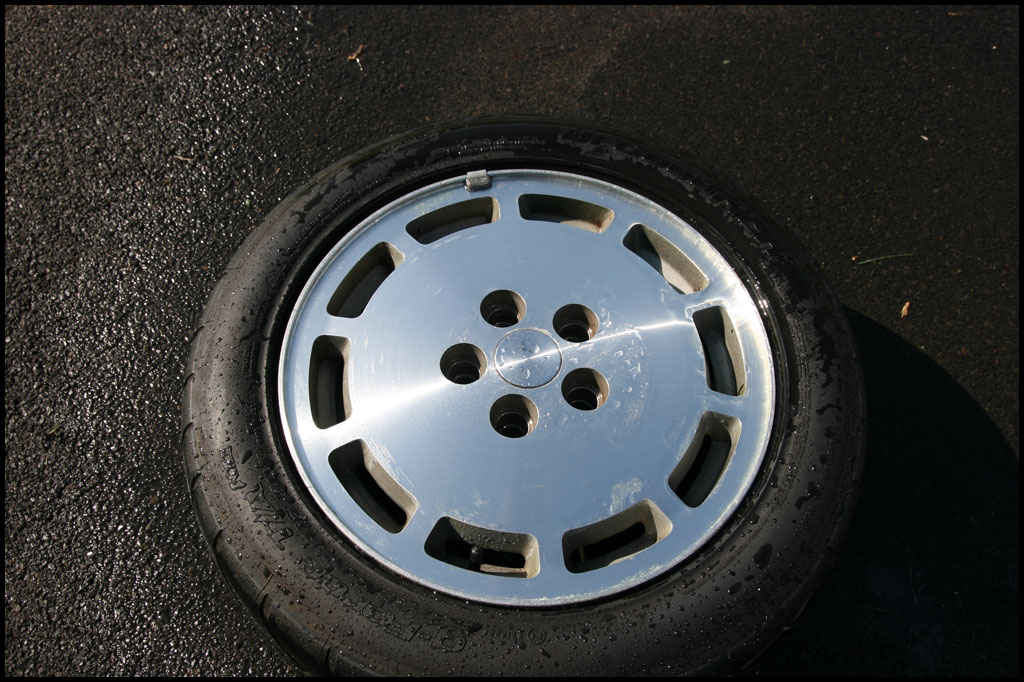
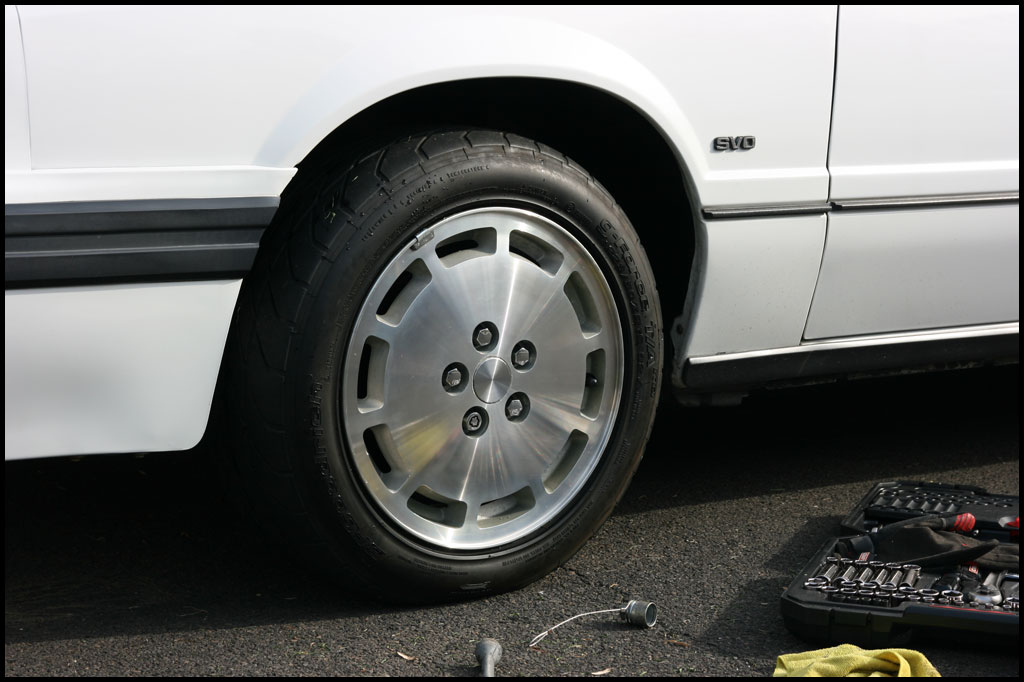
Here’s a shot of 1 done and 1 NOT done…
Before close up:
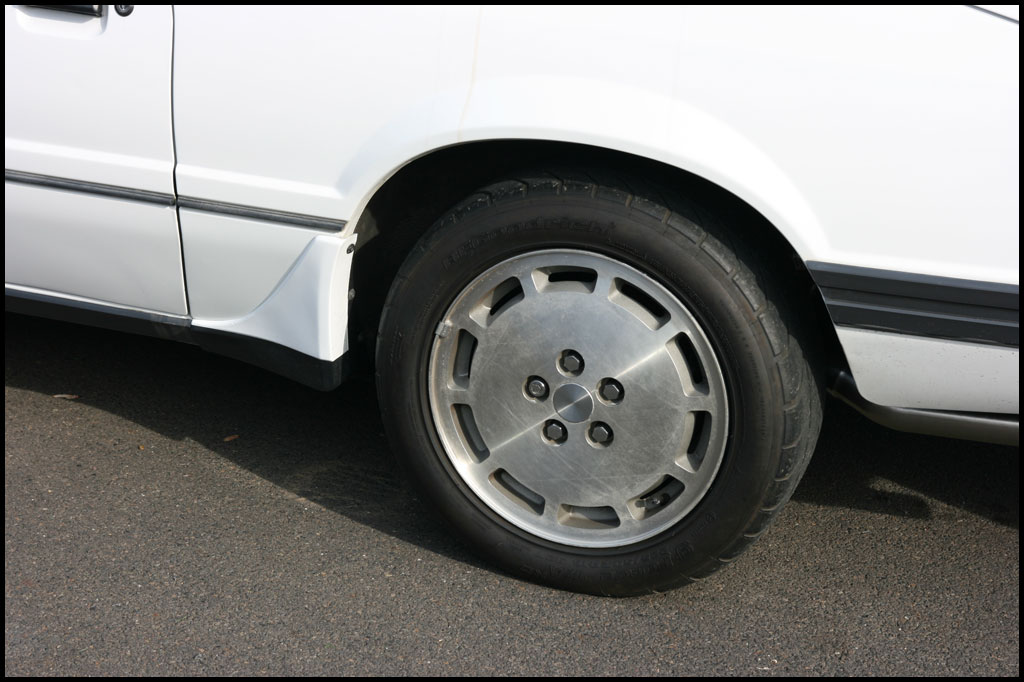
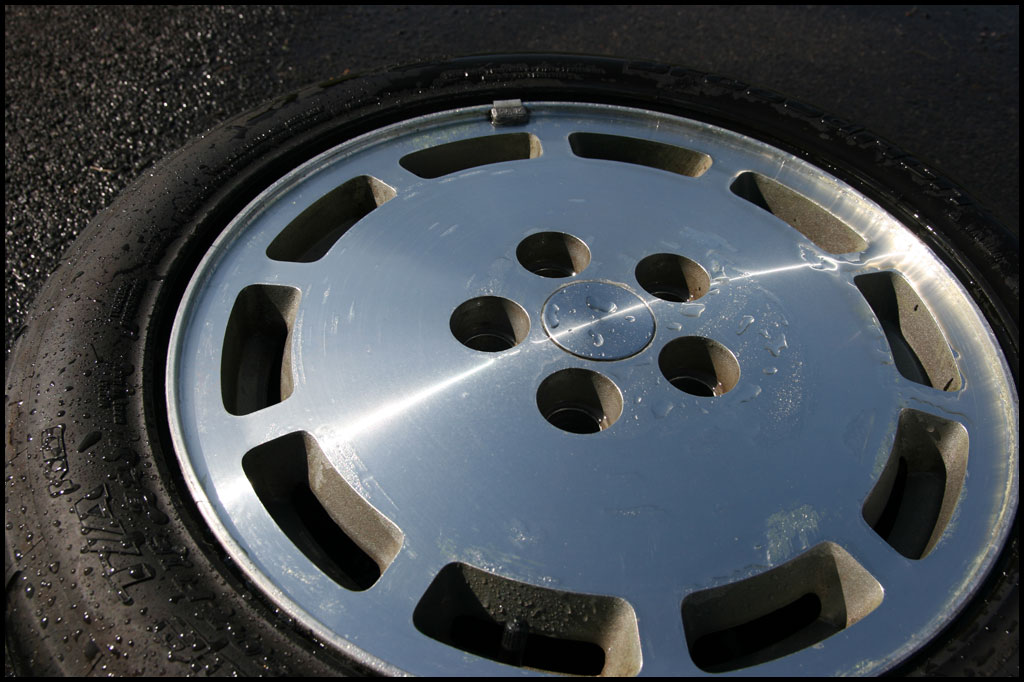
After close up:

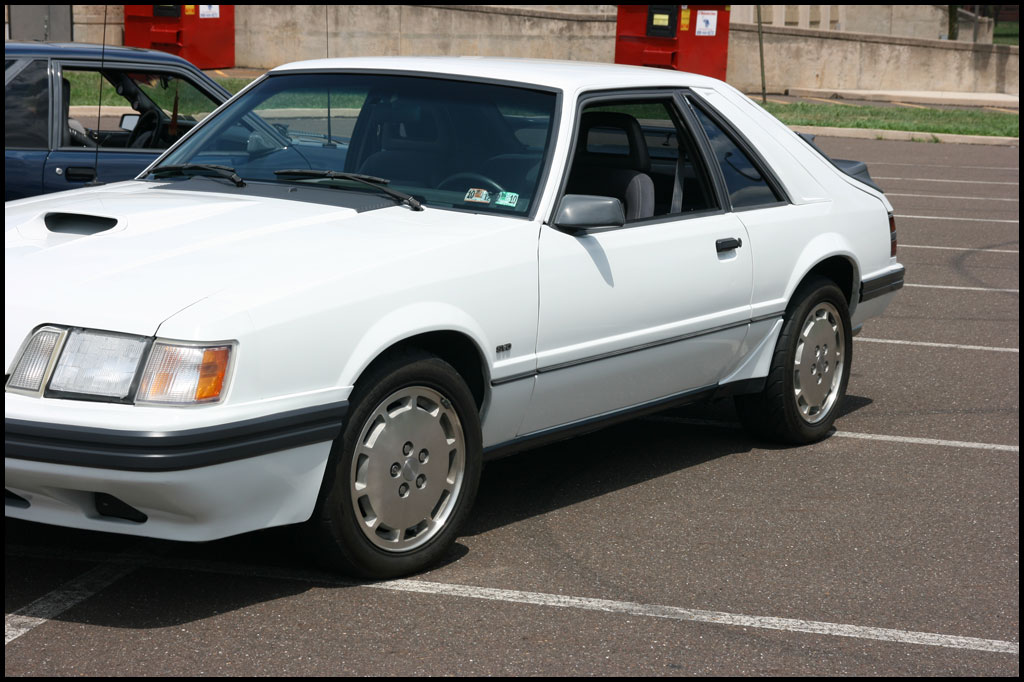
And some other angles of after:
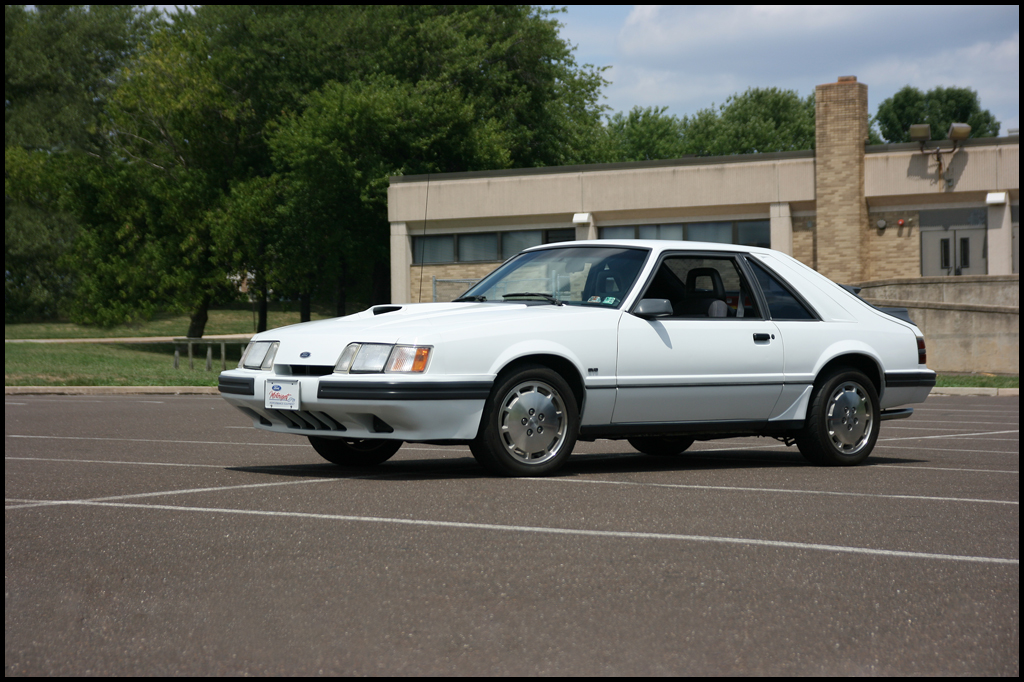
Some full car shots of all the wheels complete

For ALL the pics of the wheel refinishing process please click HERE.
I hope you enjoyed this article – please CONTACT me or use the form below with questions/comments!